For one bib cut three:
- nylon or water resistant polyester for the back side
- flannel, terry towel or quilt batting for inside layer
- flannel or quilting cotton for front side
With right front and back side together lining on top, stitch all around the bib leaving about a two inch opening on a straight part.
Clip or trim seam allowance especially the curves.
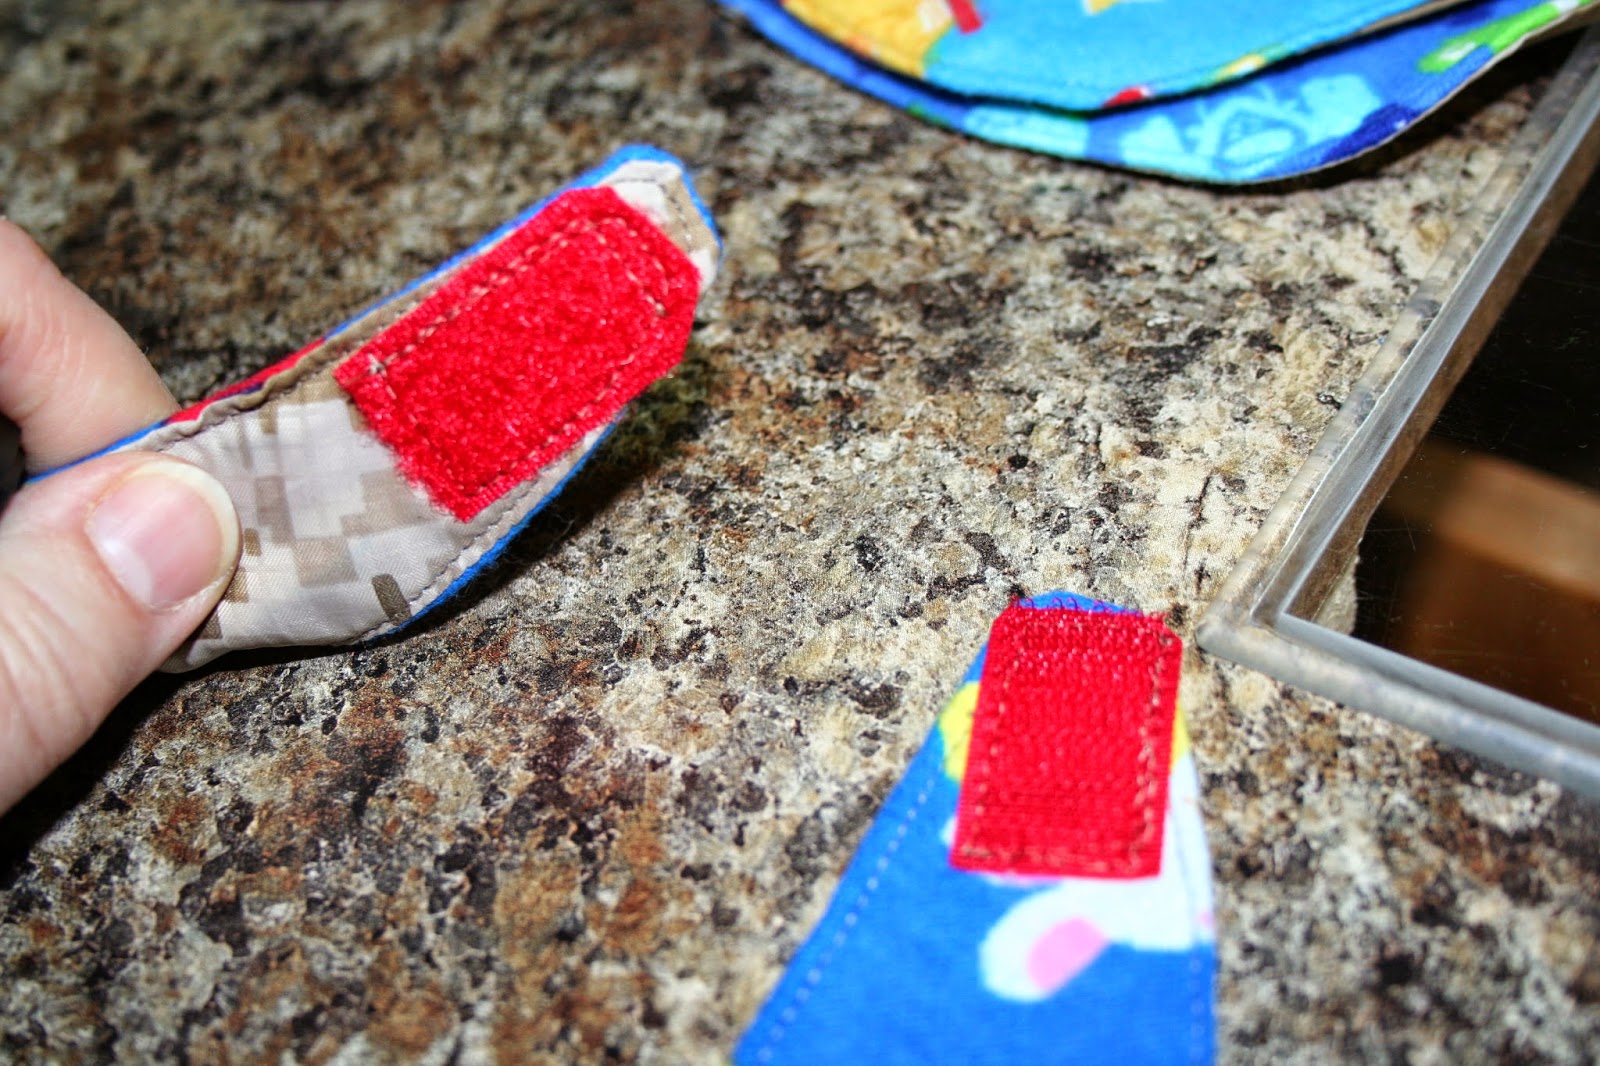
Add hook and loop tape (velcro fastener). I put the scratchy side facing up and the soft side facing down.
These bibs were made entirely out of scrap fabrics, nylon from shopping bags, flannel from sleep pj pants, receiving blankets, crib sheets and quilting cotton from quilts. The only new cost was the hook and loop tape. Since my flannel and cottons are always washed as soon as I bring them home, the bibs will never shrink in the laundry.
Just for baby's pleasure add ribbons to make tuggies for little fingers to fondle.
I use grosgrain ribbon for handles on grocery bags, along with other ribbons for tuggies on my baby quilts. Again no extra money spent to make these bibs.
Pin the ribbons in place on the front side of the bib, then stitch.
Layer, pin and stitch.
Leave a two inch opening for turning.
Clip seam allowance.
Turn right sides out.
Edge stitch all the way around.
Add hook and loop tape fastener.
Fake fur, baby should like this.
Zoo animals.
Production line piles.


I like the idea of putting some cute ribbons at the edges, it makes the bibs look nicer than ever. Like those other tutorial, this one is also the easiest and simplest way of making bib which most of the sewers were looking for. I love how this baby bib that you make turned out, lovely and wonderful. Sweet choice of colors, they are so demure. Great Job!
ReplyDelete