Sunday, October 30, 2011

1970s Elna Supermatic Sewing Machine - Ella

Meet Ella she was manufactured in Switzerland sometime between 1972 and 1974.  Does anyone know where the serial number is located on this machine?  I can't find it.  Just look at that pretty blue carrying case.  The case doubles a a flat bed sewing surface as it splits in half and the opening below fits perfectly over the free arm.
 I bought Ella from Wendy in Ontario who included 40 bobbins, most of which had thread.  Bonus!  Unfortunately, when the machine arrived the two-speed foot pedal was not working.  The motor had no juice at all.  A trip to the Brandon Sewing Centre, $70 CAD later, then Ella was ready to strut her stuff.
Not sure why, but Elna and Bernina usually provide two sewing machine manuals.  The first book is specific to the basic operation of the sewing machine.  The second manual contains more instructions on how to use the decorative stitches and add-on accessories.
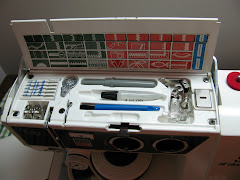
These are the accessories that came with the machine.
The black disks or cams are loaded in the top, simply by pushing the centre piece down. The machine stitch length, and width have to be set at zero to change cams. 
All the Elnas I have owned have a horizontal bobbin located behind the needle plate instead of ahead of it.
I find this location awkward.  It is difficult to thread the bobbin correctly.  The more times I thread it the easier it gets.
On my green Elna Supermatic sometimes the bobbin cover would open while sewing which is a pain you-know-where.  This lovely blue and white Elna Supermatic has an attached bobbin removal tool that works really well.
It is spring loaded like a needle threader and sits right behind the presser foot.  
The first sewing project for my new toy was tea towels today.  This 100% cotton fabric was washed, ironed, cut to size and then serged.  Even though I have owned and used several sewing machines, I only have one serger.  I bought it new in 1997,  it works perfectly for all my overlock needs.
Next the edge is pressed into place and hemmed.  I miter the corners so the final step is bar tacks on the corners.
 I used Ella to hem the tea towels.  It sews very nice stitches.  She runs quietly.
The corners are pinned into place.
This is before the bar tack.  I'll make those with my Pfaff QE 4 because Big Bertha automatically ties off the stitches and cuts the thread.
Eight new tea towels.
Now for the fun stuff.. playing with the cams and free motion quilting.
The universal tension was perfect for all the stitching.  The sample is 100% cotton fabric with 100% cotton batting sandwiched in between.  I used polyester thread and a Schmetz 90/14 needle.
On this machine the feed dogs do not drop, instead they are covered by a little steel plate.  It makes a clicking sound and I could feel it under the fabric.
About half way through the free motion quilting, I took the plate off the feed dogs and covered them with a Queen Supreme Slider instead.  This worked better.
The Elna Supermatic is a very nice all mechanical machine.
From looking at the back side of my  stitch sample, there are loops on the free motion flower and little feather in the corner.  This is me pulling the fabric faster than the machine was sewing, not a tension problem.  It looks like I should not have switched the foot pedal speed from high to low to free motion quilt.  Upon examining the decorative stitches the tension is excellent.

Recently, I  became a contributing member of  the Free Motion Quilting Challenge.  Please feel free to check it out.

Have a super duper day all.

What are you sewing these days?

Monday, October 24, 2011

Free Motion Quilting - Feather wreaths

I am following Leah Day's blog.  Usually, my free motion quilting has been stippling or following outlines on the prints of the quilt.  It is time to expand to more decorative quilting.  I really had fun practicing butterflies, leaves, zigzags and loop-d-lous on the Alzheimer touch quilts.   Before I could get to sewing, first I needed to clean the aquarium.
Water photography.  I had to block the flash to avoid the glare on the glass!
Tropical fish amuse me, they swim around all day looking for food.  I love watching them, they get so excited at feeding time.
Back to the topic of the day.  This past weekend project was practicing feathers. I was doing leaves a few weeks ago on my Bernina 930 "Helga".  So this time I used "Big Bertha", my Pfaff QE 4.
First, I hand drew several pages of feathers, trying to follow the continuous line like a sewing machine to make them flow.  This free motion feather tutorial is awesome.
 
 
For the leave wreaths, I drew a circle or the stem part first. Of course, I bought yet another quilting book.
 
I traced this pattern on parchment paper then sewed over without thread in the machine to make more copies.
By pinning the pattern to my quilt sandwich it was easier to make a feather wreath.  Though picking the parchment paper out of the stitches was finicky.
The first photo is the top.  I lowered the upper tension slightly from 5.2 to 4.0.  Perhaps I should have lowered it a bit more.  I'm mostly happy with the stitch quality.
Next I drew circle and the feathers directly on the fabric.
It was difficult to keep the feathers looking uniform and to join them.
Then Véronique and Scott came over for Sunday dinner.  Véronique had a project for me.  She works in a daycare.  She wrote a puppet show for Halloween and needed costumes for two of the puppets.
This was lots of fun, as I have never made puppets costumes before. 
So does anyone out there have any tips for free motion quilting feathers?  How about unique ideas for Halloween costumes?

Saturday, October 22, 2011

winter dog booties for Lily

I've been sewing Lily winter booties for the past five winters out of polar fleece, leather, Velcro and elastic.  The problem with the homemade ones, is that the polar fleece wears out too quickly.  Lily is walked every day and my booties last her about four weeks with repairs.  After a great deal of research on the net, I found neopaws a Canadian company in Ontario that manufactures these wonderful boots for dogs.  The bottom is like a running shoe and the top is made of neoprene held together with Velcro fasteners. 
 
Lily was so busy running around in her new winter dog shoes, that getting a good photo was difficult.
 For one instant she was actually standing still and if dogs can smile, I think she is indeed smiling. 
We went for our usual four kilometre walk.  The shoes stayed on and I think she likes them.

Saturday, October 15, 2011

Denim thread, needles and fabric - tension issues grrrrrrrr!!

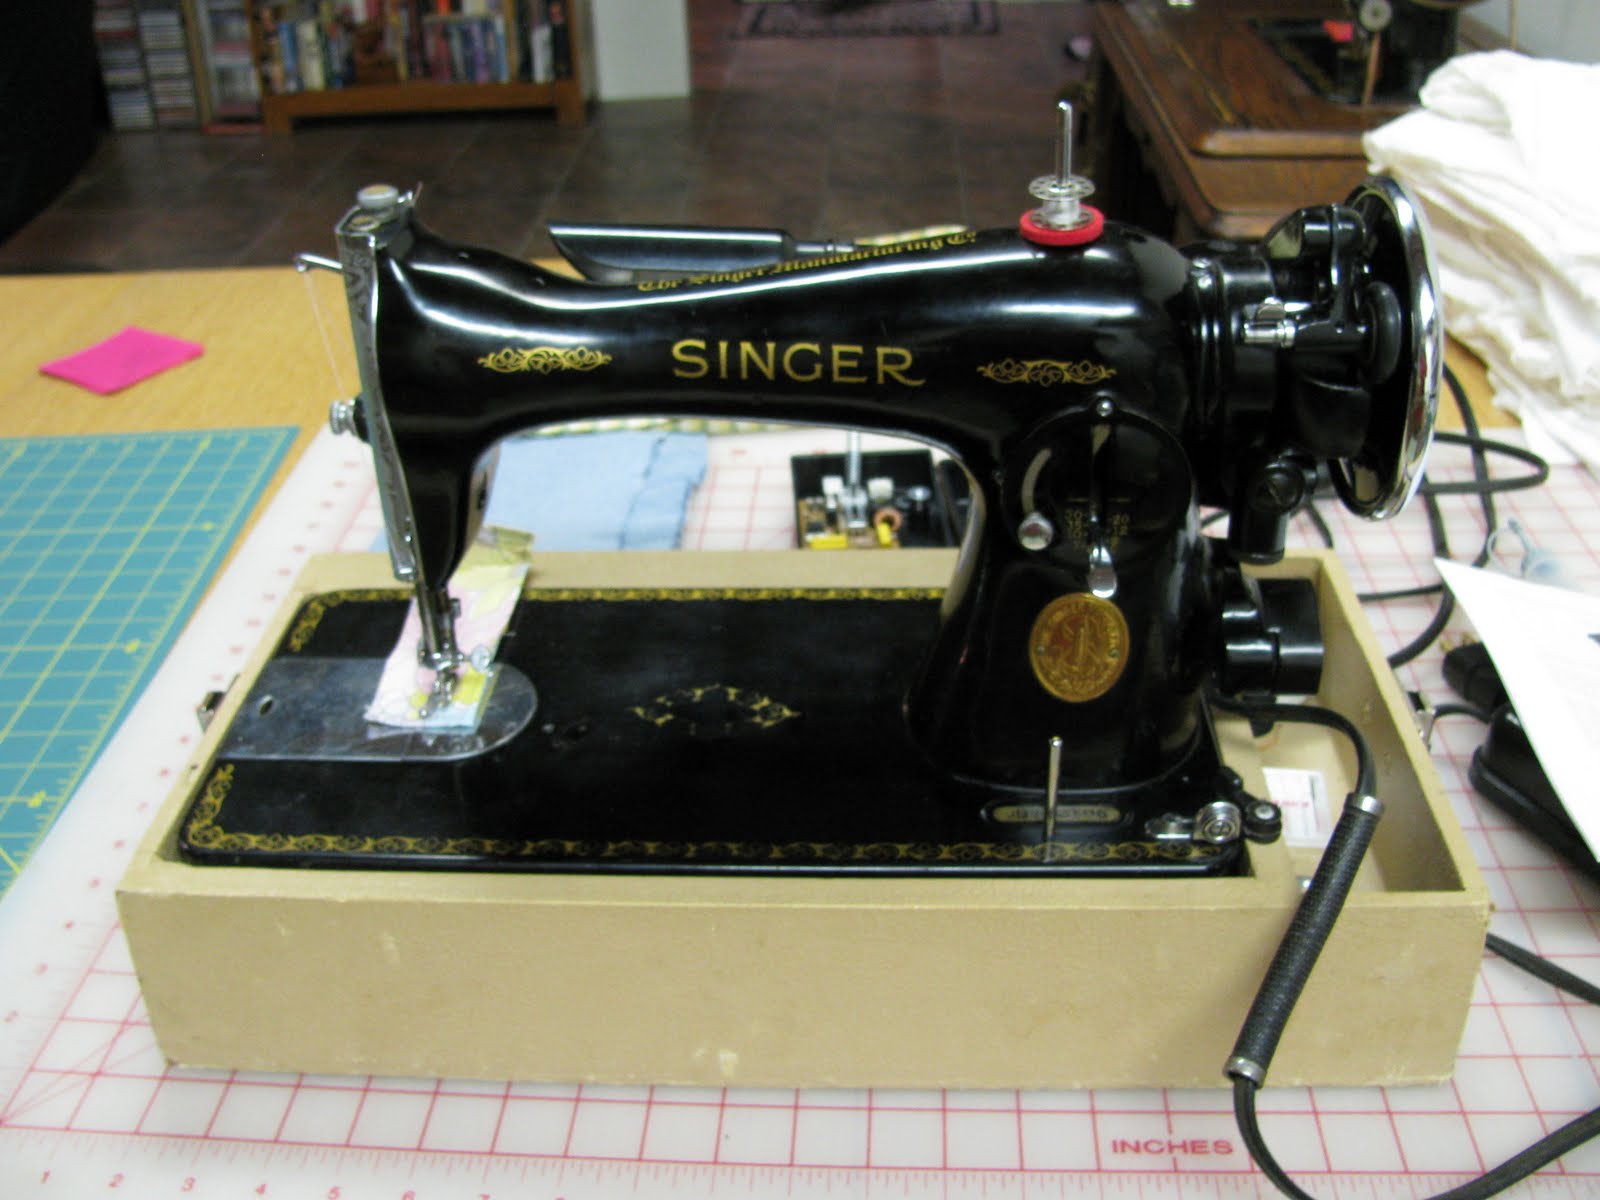
A while back I needed to  hem a pair a denim jeans.  I decided to use my Singer 15-91 (Pearl).  However, the tension was giving me major grief.  So much so, that I went through an entire bobbin of denim thread trying to get the tension right.  Then I gave up and switched sewing machines to hem the pants.  As soon as I changed the denim thread back to regular polyester thread Pearl was sewing perfect stitches top and bottom again.

This afternoon I took a scrap of denim put pale yellow denim thread in the top and bright orange denim thread in the bobbin.  I used a universal Schmetz needle, then threaded up the Singer 15-91 to give it another try.  The first thing I noticed was the orange denim thread was very tight in the bobbin casing so I loosened the bobbin casing screw to lower the tension on the bobbin thread. The top tension was set at 4, then I adjusted it to 3 and 3.5.
There was no visible difference on the top side between the three different tension settings.  All three seams are strong and will hold.
 
On the reverse or bottom side the stitches all look good, but I like the 3.5 tension line is the best.
This time it only took three lines of sewing to set the thread tension.
One of the things I love about sewing is that it teaches me patience.  Sewing like everything else is a skill that requires practice to master.  Hope this post was helpful. 

Kenyon Slate laminate flooring in my craft emporium.

Before:  Nothing worse than wall to wall carpet in a sewing room.  This used to be our son's bedroom.
Magic sewing room closet.
 
Before the carpet was ripped out I patched, primed and repainted the damaged areas on the walls.
After:  This laminate flooring is same pattern as the basement tv area, where my cutting table, ironing board, treadmill and more sewing machines reside. 
 
The big bag in the back corner is nylon and polyester fabric I use when sewing reuseable grocery, lunch and knitting bags.  The craft emporium and the closet are not usually this tidy.  Give me a few weeks, it will have fabric bits and pieces everywhere again.
The patchwork on the floor is Lily's bed.
I moved a couple chairs out of the shots to show off the floor.
My dressmaker's form is named Dorothy.  She is wearing a shirt so she doesn't get cold.
The floor mirror is a recent addition.
Even after  adding a desk daylight lamp and a pole lamp, lighting continues to be a problem.  It was a bedroom first, with only one ceiling light.  Doug changed it to a fluorescent light when I converted it to my craft emporium.  
Photo below is the emporium overflow. It has four fluorescent tube ceiling lights, as well as that sewing machine is conveniently located for watching television while sewing.
Dancing around the room with glee!  My cup runneth over!  What's your sewing space like?