Thursday, November 10, 2011

1940s Piedmont - Singer 15 clone

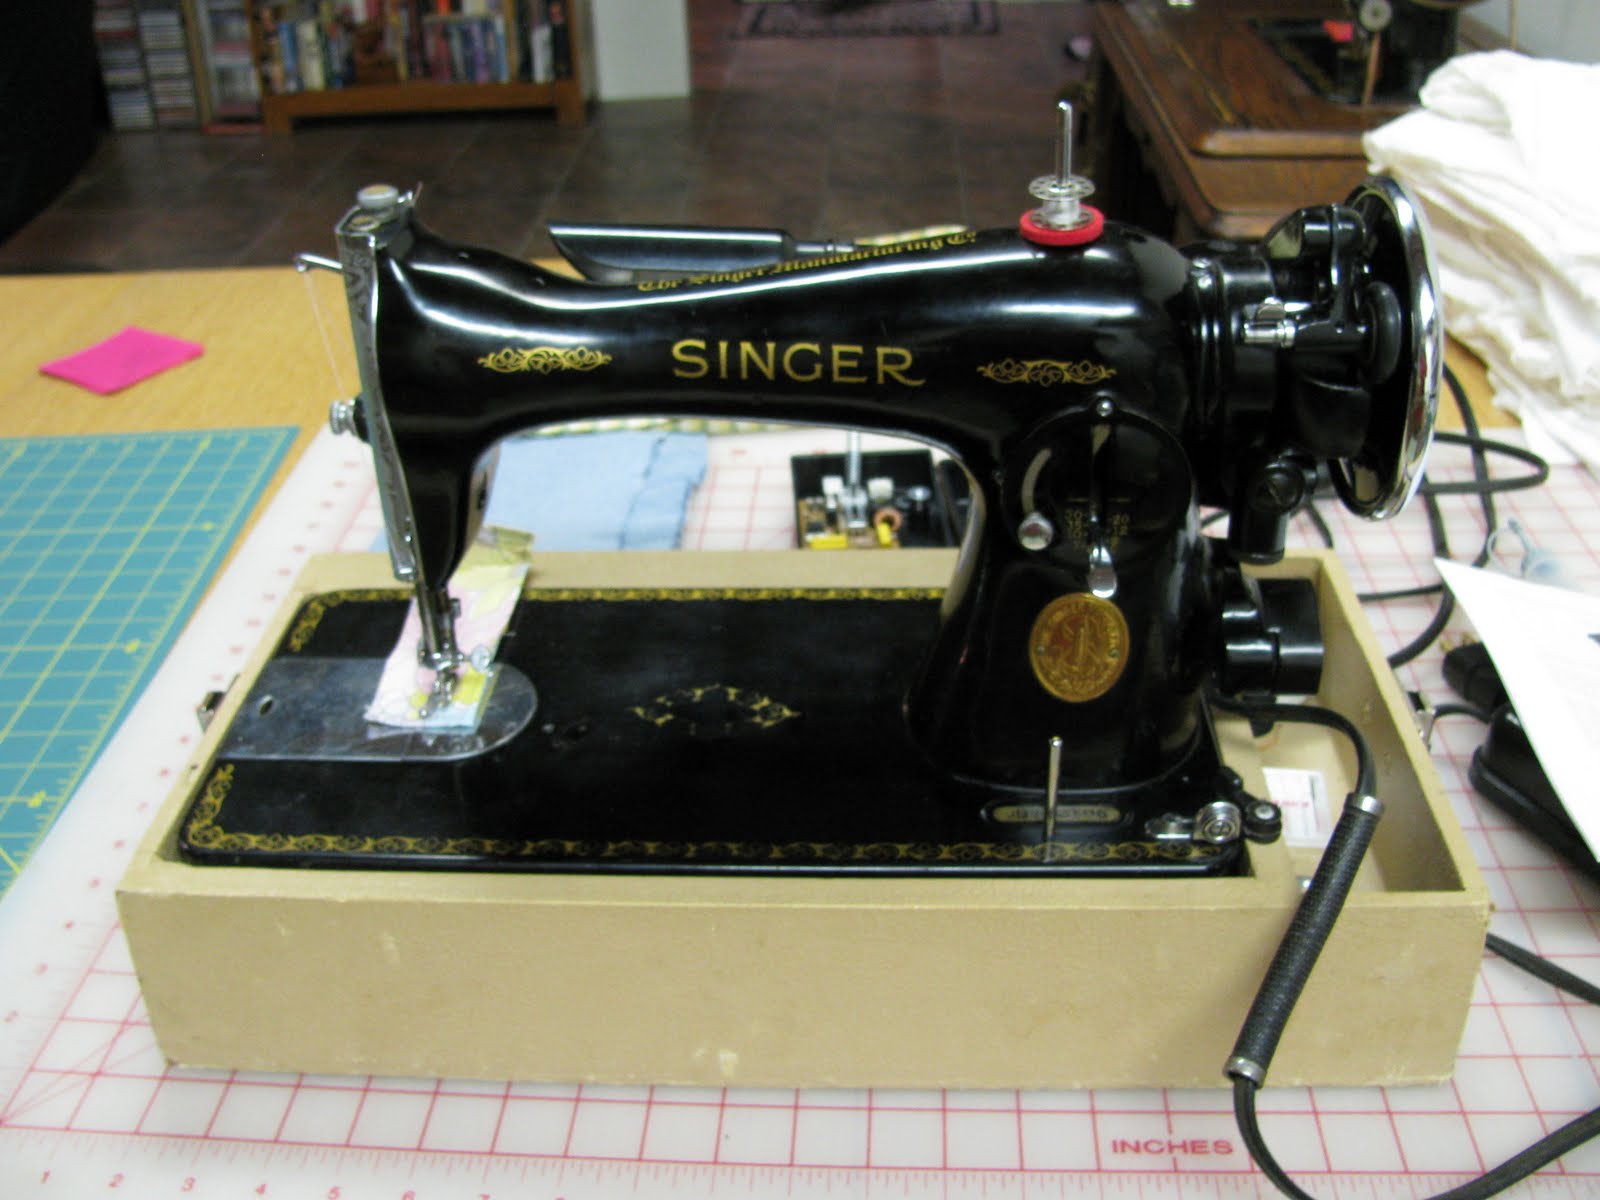
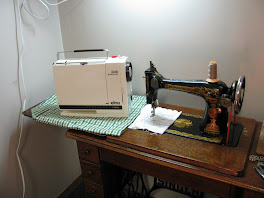
Two weeks ago my cleaning lady Linda brought me this straight stitch sewing machine!  Her husband Dennis rescued it from a dumpster.  The case looks pretty rough.
The shinny black machine head, gold decals and chrome trim were all pristine.  If it wasn't for the wear on the foot pedal it would be hard to tell this was a vintage machine.  I think this sewing machine was well used and well loved.  Most likely discarded by  someone other than the person who used it.  I'm guessing the accessories and manual were also dumped.  A closer inspection revealed that the motor belt was very frayed and the light bulb is missing.
Nonetheless, this machine is gorgeous!  I didn't polish it at all for these photos, this is exactly the way she looked...fresh from the dumpster. 
This Piedmont is a clone of the Singer 15 series.  It uses class 15 bobbins, standard needles and short shank screw on feet.  There is a knob on the base beside the bobbin winding spool pin to drop the feed dogs.
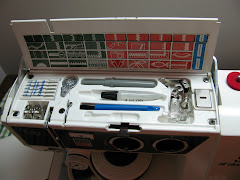
The machine had five bobbins all with thread, one needle in the machine and the bobbin casing. I spent $5 CAD to purchase a new motor belt.  After installing the new belt, the motor was smoking and stinky so I spent another $10 to get the motor refurbished.
People who lived during the great depression were extremely frugal with thread, they would wind more than one colour on the spool.  I wonder if they ever used the colours underneath.
I did some sample stitching with it.  The motor runs hums along as it sews.  I put red thread in the top needle and yellow in the bobbin.  Even with the bobbin screw tightened as tight as it would go and the upper tension set as low it will go the stitch is still not locked in the centre.
See the little red dots on the reverse side.  I'm going to clean the upper tension disks with dental floss and see if that fixes the problem.  Jenny at sew classic provides excellent tutorials for cleaning and fixing vintage machines.  She also sells parts.  After checking Jenny's instructions on tension issues, I tightened the upper tension to 4.5 and left the bobbin tension as is.
The purple scrap had too many tracks running across it.  The red thread is the top and yellow is the bottom.  The tension is fixed!  Yippee~  dancing around the room with glee!
My goal of reducing my sewing machine collection from 12 machines to only 8, just took another step backwards as I now own 13 machines again.  ~sigh
  1. 1910 Bernard Stoewer Treadle - Bernice manufactured in Germany
  2. 1940 Singer 15-91 - Pearl
  3. 1940s Singer 15-89 Treadle - Rose
  4. 1940s Piedmont - manufactured in Japan.  This machine will be donated or sold once I buy some accessories for it.
  5. 1954 Elna Supermatic - manufactured in Switzerland.  This machine is listed for sale on kijiji Winnipeg because it is operated with a knee bar which I do not like.
  6. 1954 Necchi Mira BU - Mira manufactured in Italy
  7. 1961 Necchi Lelia - Lelia manufactured in Italy
  8. 1956 Domestic Automatic - Wilma manufactured in Japan will be given to my son.
  9. 1970 Elna Supermatic - Ella manufactured in Switzerland
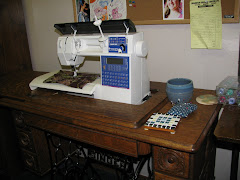
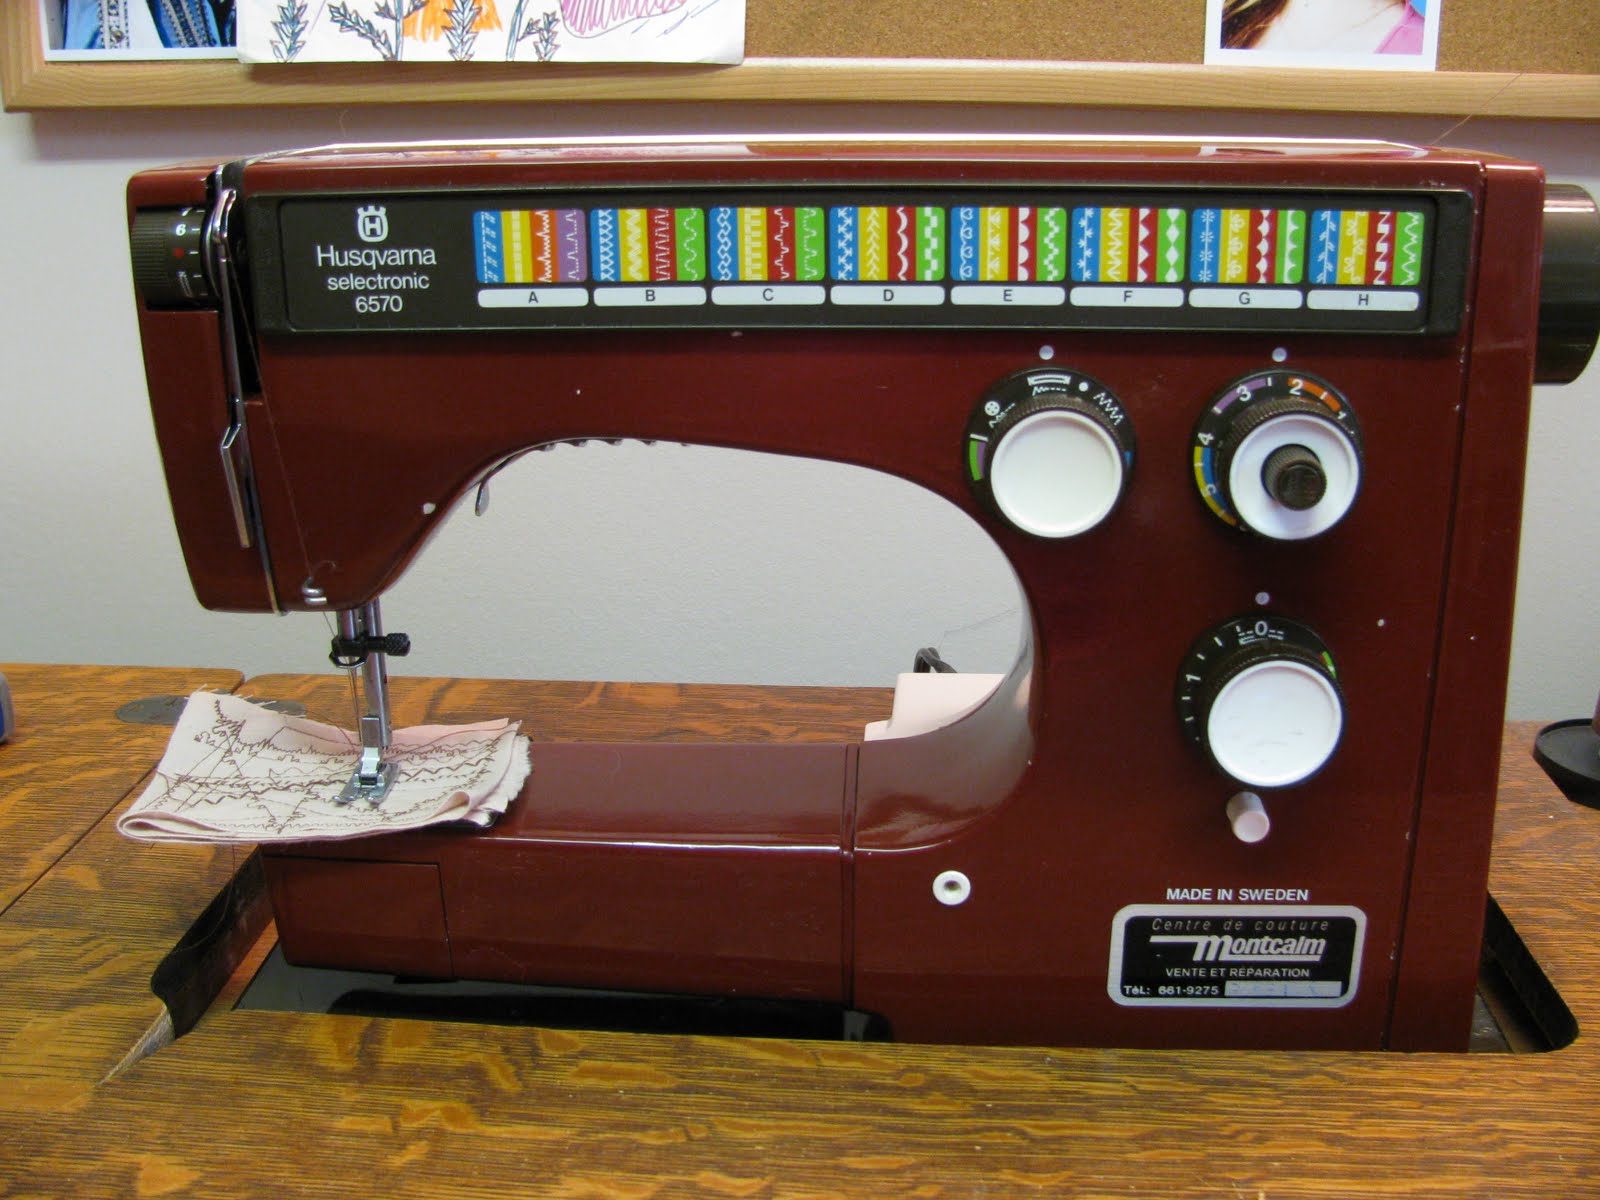
  10. 1979 Husqvarna 6570 - Ruby manufactured in Sweden
  11. Bernina Nova 900 - Novalee manufactured in Switzerland between 1982-85
  12. 1983 Bernina 930 - Helga manufactured in Switzerland
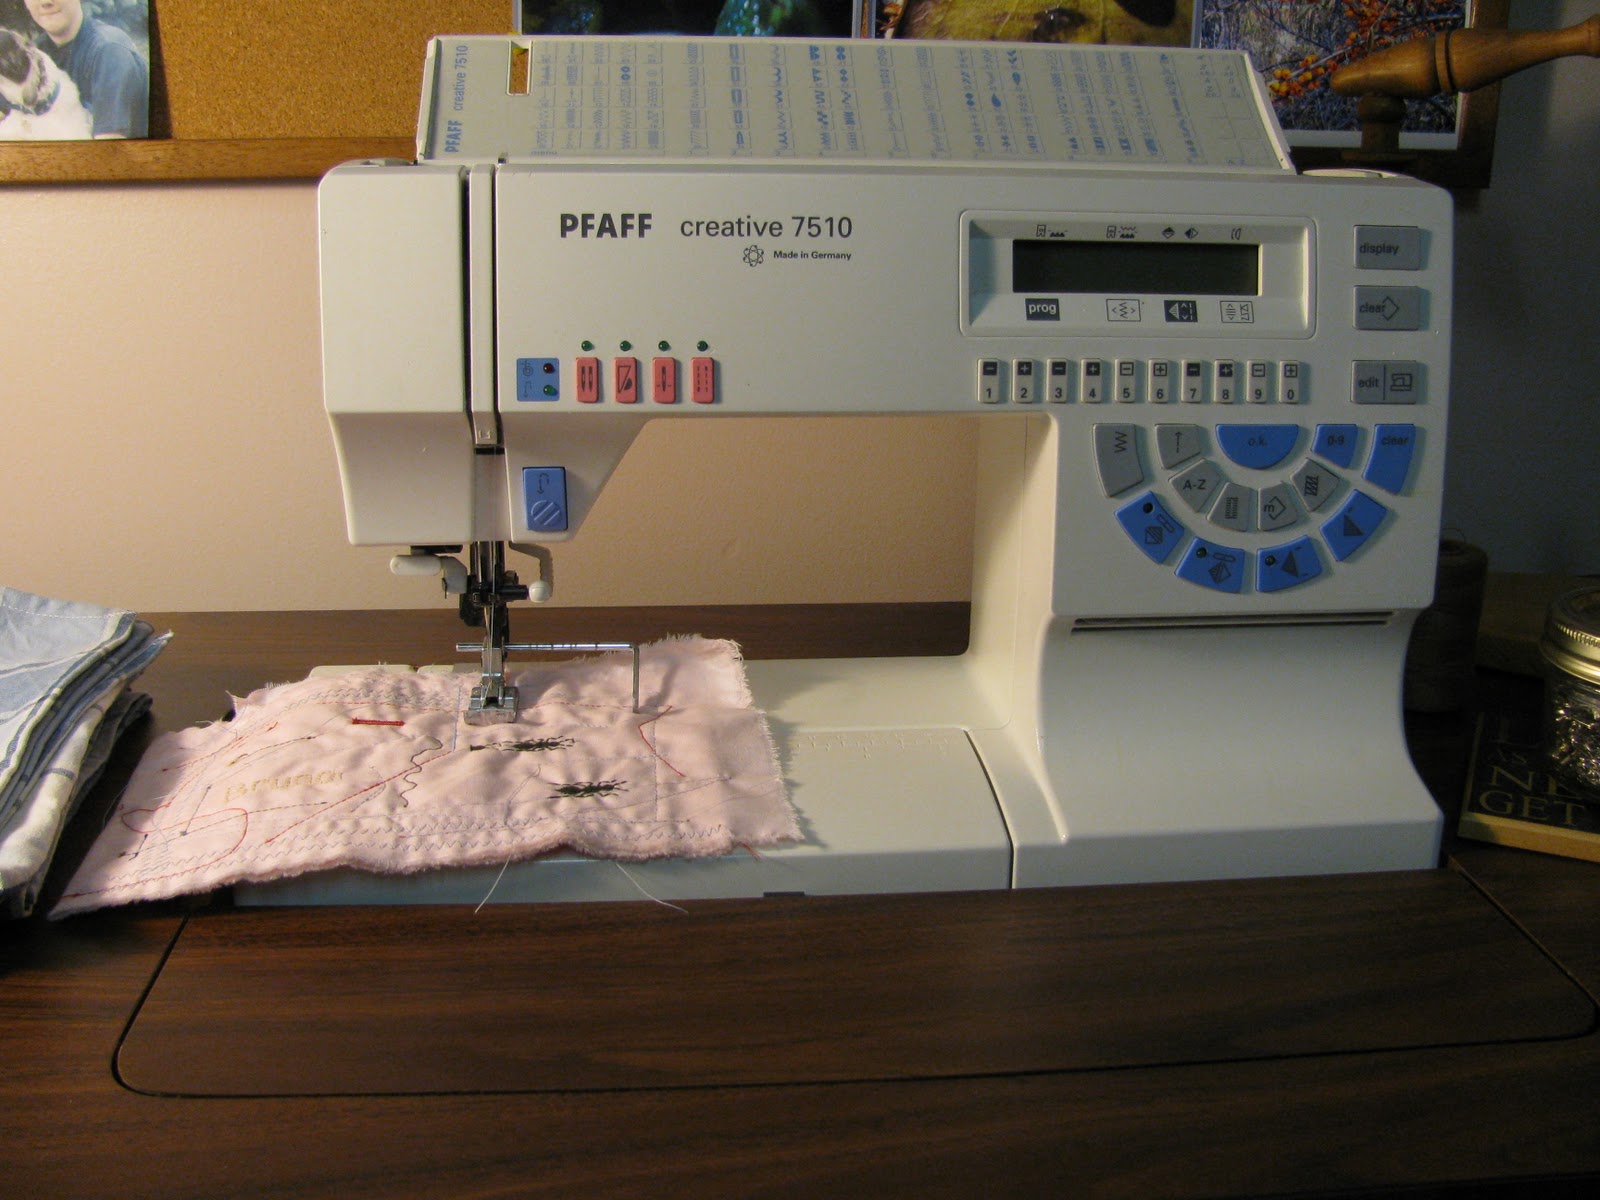
  13. Pfaff QE 4 - Big Bertha manufactured in China with German engineering.
So many toys and so little time!  The way a sewing machine operates just fascinates me.  I collect sewing machines because they are so inexpensive and plentiful.  Most of my vintage machines were purchased for less than $100 CAD and many were free.  I bought one treadle for only $20 in a cabinet.  I love these oldies, they are usually all metal construction. If kept clean and oiled they will keep sewing for years and years.  My favourite sewing machine of all time was my 1995 Husqvarna 500 that I gave to my daughter in July 2011.  Currently, I am falling in love with Helga the Bernina 930 and I'm very partial to Pearl the Singer 15-91 straight stitcher.  Pearl is conveniently set up in the craft emporium overflow area which is also where my 42 inch tv and extensive collection of dvd movies reside.   

Dear readers, how many sewing machines do you have?  Do you have any favourites?  If you collect them, why?  Do you name your sewing machines?

Wednesday, November 9, 2011

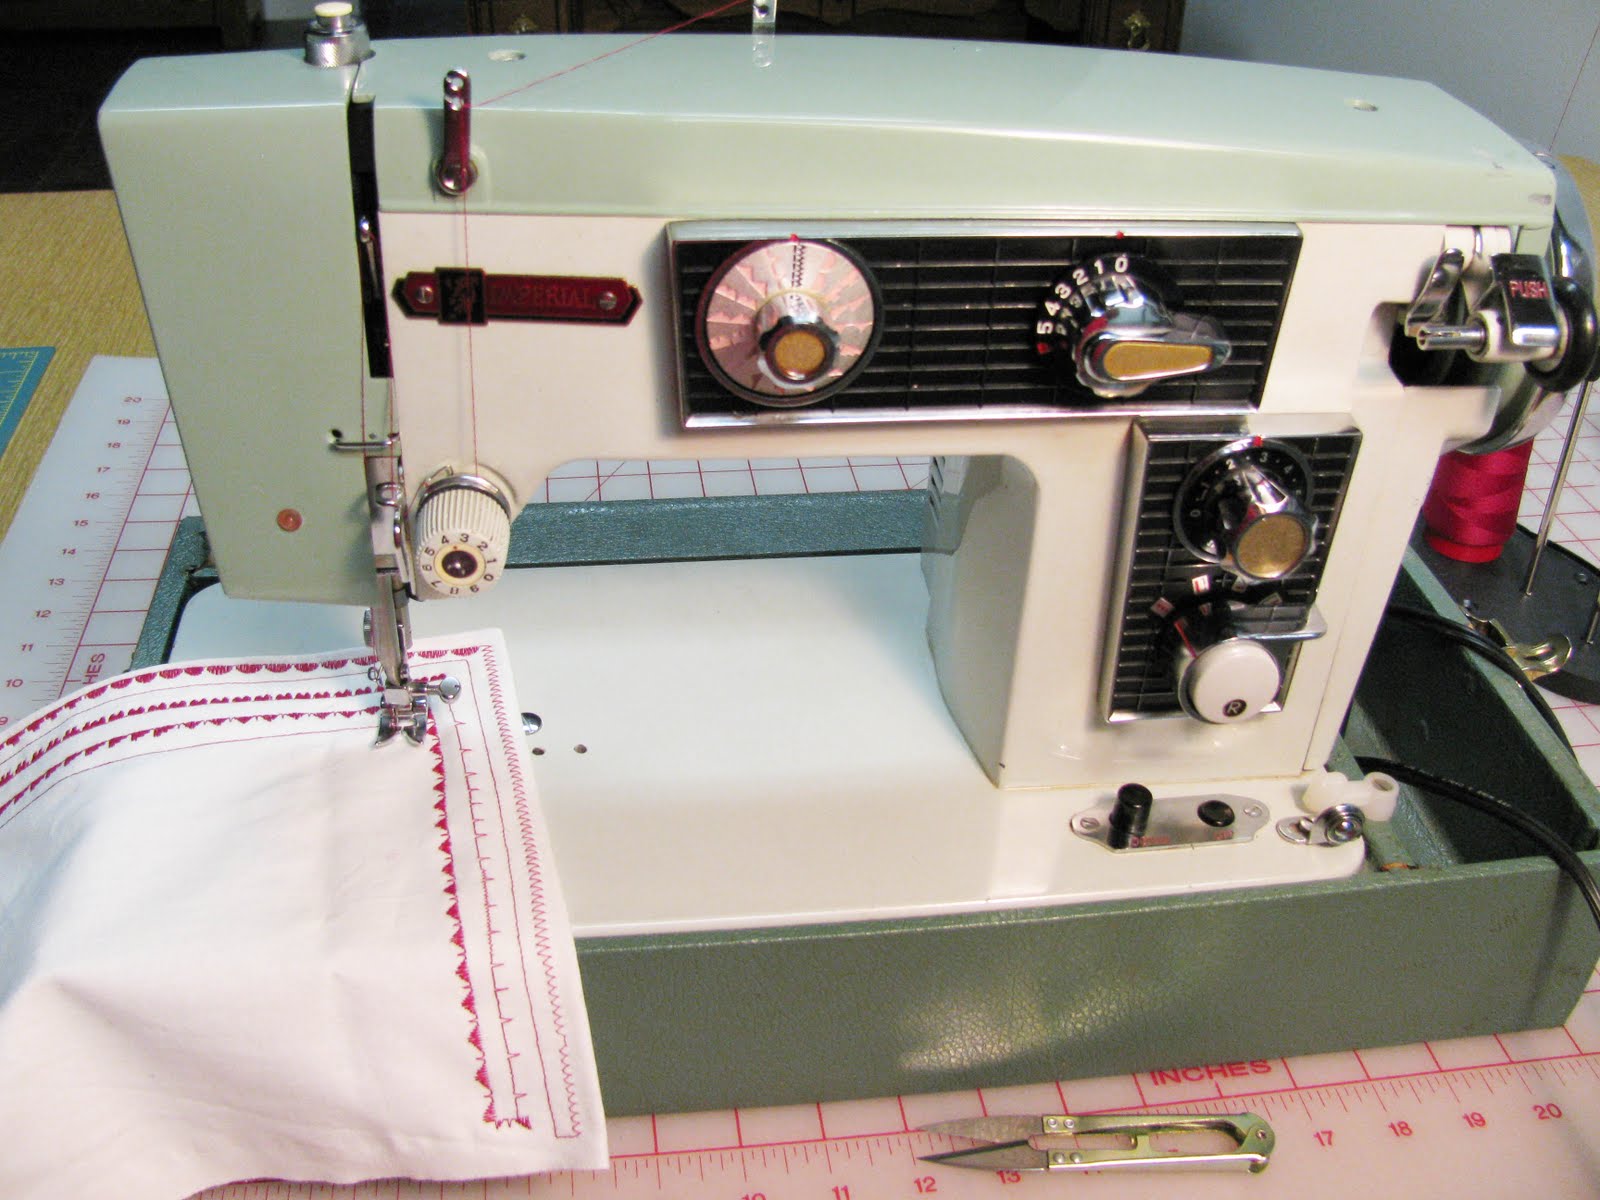
Necchi Lelia 513 - how to thread the bobbin

 
Anonymous said...
I just started using this sewing machine that was my grandmother's and had looked unsuccessfully for a manual in the past--thanks! I'm a non-sewer guy but am mechanically skilled, nothing was very obvious except what I remembered from when I was a kid(the foot button  the lever for the depressor foot). Now I am stuck. :) How is the bobbin threaded? I have it in the casing right, understand how that is re-installed, but am unclear on how to thread it back out/through the rest. (I was however able to see from your pics that it exits the plate in that center hole/slot.) I am trying to make a dog jacket w/nylon polyfill. :) Thanks in adv.
This comment was posted on my original Necchi Lelia 513 post.  Behold... "how to wind a bobbin"my first attempt at making a movie.
It was quite a challenge to run the sewing machine and the camera at the same time.  I stopped shooting the movie to cut the thread off.  So "how to wind a bobbin" became a two part movie all 60 seconds of it.
The thread is the behind the bobbin is coming off a large cone on a stand.
The thread guide located at the middle in the top of the machine has a little piece of metal on top and what looks like plastic underneath.  The thread passes between the plastic and the metal top.
This is really important to ensure the bobbin fills evenly.  Otherwise, it will not pull off the bobbin smoothly when sewing.
The bobbin case is really quite neat.
 The little piece pointing upward is the finger.
Here I have raised the centre lever on the back of the bobbin case that locks the bobbin into position in the sewing machine.
My experience with all sewing machines is that if either the upper needle or the bobbin is not threaded correctly, the machine will not sew period.
The bobbin should be loaded into the bobbin case so that the thread pulls off the bobbin counter clockwise. This is what the bobbin looks like threaded in the bobbin casing before loading into the machine. Follow the guide in the bobbin casing to draw the thread up and through the bobbin casing spring.
The small lever on the opposite side of the my thumb is used to secure the bobbin casing in the sewing machine.
Normally the bobbin is loaded by opening the bed plate beside the needle plate.  For these photos I tipped the machine up to provide a better view of the bobbin area.
On this machine the bobbin casing finger fits into place at about the 12 o'clock position.
 Release the centre lever to lock the bobbin in position
I used blue thread in the in bobbin and hot pink thread in needle.  I always load the bobbin first, then thread the the upper tension disks and needle.
With the needle in its highest position and the presser foot up, follow the thread guides on the machine in order stated in the manual.
 
 
Make sure to pass the thread between the tension disks and through the tension spring.  The needle on the Necchi Lelia is threaded from left to right.
With the needle threaded, hold the end of the needle thread and turn the wheel towards you, the needle thread will pull up the bobbin thread.
Next, slide something (seam ripper) between the presser foot and the needle plate to separate the upper and lower threads and completely pull up the lower bobbin thread end.
Now for the fun part.   Always test your stitches before sewing anything.
This is where I find using two thread colours works well to adjust the tension.
 
 
If the machine is not sewing good stitches, first re-thread everything again.  If that doesn't fix the problem change the needle.  If that doesn't fix it then start slowly adjusting the upper tension.  One last thing if the machine keeps leaving giant loops of upper thread on the bottom side even after increasing the upper tension to the maximum setting, then the lower tension spring on the bobbin casing is too loose.  There is a tiny screw on the bobbin casing that needs to be tightened.  Jenny at sew classic has an excellent tutorial on setting the tension.  http://blog.sew-classic.com/2009/01/13/tension-is-it-getting-to-you.aspx
That's all for now.  Anonymous I do hope this post is helpful and that you will comment again so we know how you made out.