Monday, April 30, 2012

Earth Day Bag Giveaway - The Winners!

This cool embroidery design was available for free from the embroidery library during the month of April.
To select the winners, I used a random number generator.  However, I was pressed for time sigh (my life story) ~ so I didn't figure out how to post the results with the generator.  The winners are comment numbers 2 (Barb), 13 (Corina), 11 (What Comes Next? - Janet) and 6 (Debi R).
Barb said...I am so glad I am a follower. Loved your bags and tips.
April 22, 2012 6:34 PM
corina said...Love the bags! I always say I'm going to sew some up, but that's never happened. Maybe now I won't need to!
April 28, 2012 11:59 AM
 What Comes Next? said...Great bags Tammy. I always carry my own bags to the grocery store, and we have a great recycling program here including compostables and all recyclables.
April 28, 2012 11:00 AM
Debi R said...Hi Tammy, it's great to meet you. I've been a recycler for years, and a sewer/quilter for just about as long. If I don't keep something then it goes in the bin for recycling collection or given away on Freecycle.com rather than sent to the trash dump. Thanks for sharing your great blog!
April 25, 2012 7:55 AM
Congratulations ladies, please email me with your address and I'll get your grocery bag out to you next week.  My thanks to everyone who recycles for helping save the planet.
Update:  On May 9, 2012 three out of four bags were mailed.  Debi R, I need your address please.

Wednesday, April 25, 2012

Charity begins in the heart and home.

In Canada, April is cancer awareness month.  I grew my hair long for my kids' weddings in September 2010 and July 2011.  Now that they are both married,  I had 9 inches cut off on March 31, 2012 which was donated to a company that makes wigs for cancer patients.
It takes eight hair donations to make one wig.  This is the new me after the hair cut.
If I only trim it from now until April 2013, I may have enough hair for another pony tail to donate.

I feel a responsibility to donate or give back to my community.  I have also canvassed door-to-door for the Manitoba Alzheimer's Society and the Cancer Society.  I sew and donate Alzheimer touch quilts.  I give my used clothing and household goods to diabetes.  We have a Brandon community website that has a "wishes" section.  I have granted wishes for sewing machines, a web camera and art supplies.  Here on my blog I provide free electronic (out of print) sewing machine manuals, some sewing tips, tutorials and sewing machine information.  I make tea towels and oven mitts which I give away to the local soup kitchen.  We recycle plastics, paper and metals.  We have composted in the past, but it was too smelly for us.  Our used unwanted furniture is donated to a local charity that helps immigrant families get settled in their new Brandon homes.

I would love to read your comments on what you do in your community to support charities or just to lend others a hand up.  I prefer to give a hand up rather than a hand out.  How do you feel about that?

Sunday, April 22, 2012

Happy Earth Day - Reusable bags Giveaway

I have been sewing reusable nylon and polyester grocery bags, smaller fruit bags and lunch bags for over twenty  years.  Most nylon is 60 inches wide and the sale price was 99 cents a metre.  I started making grocery bags before recycling was popular because grocery stores had switched from paper bags to plastic. The plastic bags are so thin that it was difficult to get my groceries from the store to my vehicle, vehicle to my house without at least one bag falling apart and spilling groceries everywhere.
The orange plaid fabric was purchased in Brandon for $2.00 a metre.  About a month later I saw the identical fabric at Joanne's in Fargo,  North Dakota for $36.00 per yard.  I like to give these bags away as part of a gift.  However, when  I saw how expensive this fabric was in United States I decided to keep these two for myself.  Besides that, they go great with my mustard yellow purse. 
The printed bag with the dark burgundy lining was made using a plastic grocery bag for a pattern.  It is made from 100% cotton drapery fabric.  It is quite heavy compared to the nylon ones, and a bit smaller.
The turquoise blue knitting (fruit) bag is over twenty years old. I made it before I owned a serger. Back then I would sew the seams together and use pinking shears on the raw edges.  The handles are 100% polyester grosgrain ribbon.
I also knit dishcloths, sew tea towels, dinner napkins and table cloths.  Some of the tea towels are made from 100% cotton recycled bed sheets purchased from local thrift stores for two to four dollars each.  Sometimes I purchase 100% cotton or cotton linen mixes from the bargain centre at Fabric Land. The most I pay for this fabric is $3.00 metre (39 inches). 
I usually cut out four to six bags at one time.
I use heavy duty washers instead of pins to hold the pattern in place in place for cutting.
I mark the fabric with a regular uni-ball pen as it doesn't matter if the marks come out in the wash or not.
Over the years, I have sewn and given away over 70 shopping bags as wedding, Christmas, birthday, thank you and housewarming gifts.  I machine wash mine and hang them to dry.  I usually make a fruit bag size one for my baby quilts.  I've also made daycare bags. 
Today is not only Earth Day, it is my son's 30th birthday.  To mark this wonderful blessed day, I'm having my first give away of four shopping bags to four of my fantastic followers.  If you are not a follower now, you are invited to join the fun.  To be enter the draw please leave a comment here telling me what you do to either recycle, reuse or reduce to save our wonderful planet.  Anyone can enter as long as I have a way of contacting you.  (Leave your email address in your comment if you don't have a blogger account.)  The winners will be selected by random draw on Sunday April 29, 2012 noon central time.  I look forward to reading your comments and sewing some bags.

Happy Earth Day.
 The winners have been chosen...
Thanks to everyone that left a comment.

Sunday, April 15, 2012

Alzheimer's Touch Quilt #3

The Alzheimer's Touch Quilt Project is an initiative of the Alzheimer Society of Manitoba, sponsored by Manitoba Blue Cross with funding from Manitoba Community Services Council.  
All that is left to do on this touch quilt is put the label on.  I used fake fur, nylon, polyester and ribbons to embellish this quilt.  There is one little purple bag that has five buttons sewed inside.  The solid medium brown fabric is suede.  The nine patch squares are 100% cotton, the dark blocks are poly-cotton.
The binding is 100% polyester metallic wired ribbon.
 
The backing is 100% cotton flannel.  The batting is Warm and Natural unbleached 80% cotton and 20% polyester.
 There are several different free motion quilting designs in the blocks.
 I hope the recipient of this quilt will enjoy following the quilting lines.
 This quilt was lots of fun to quilt.
 
 
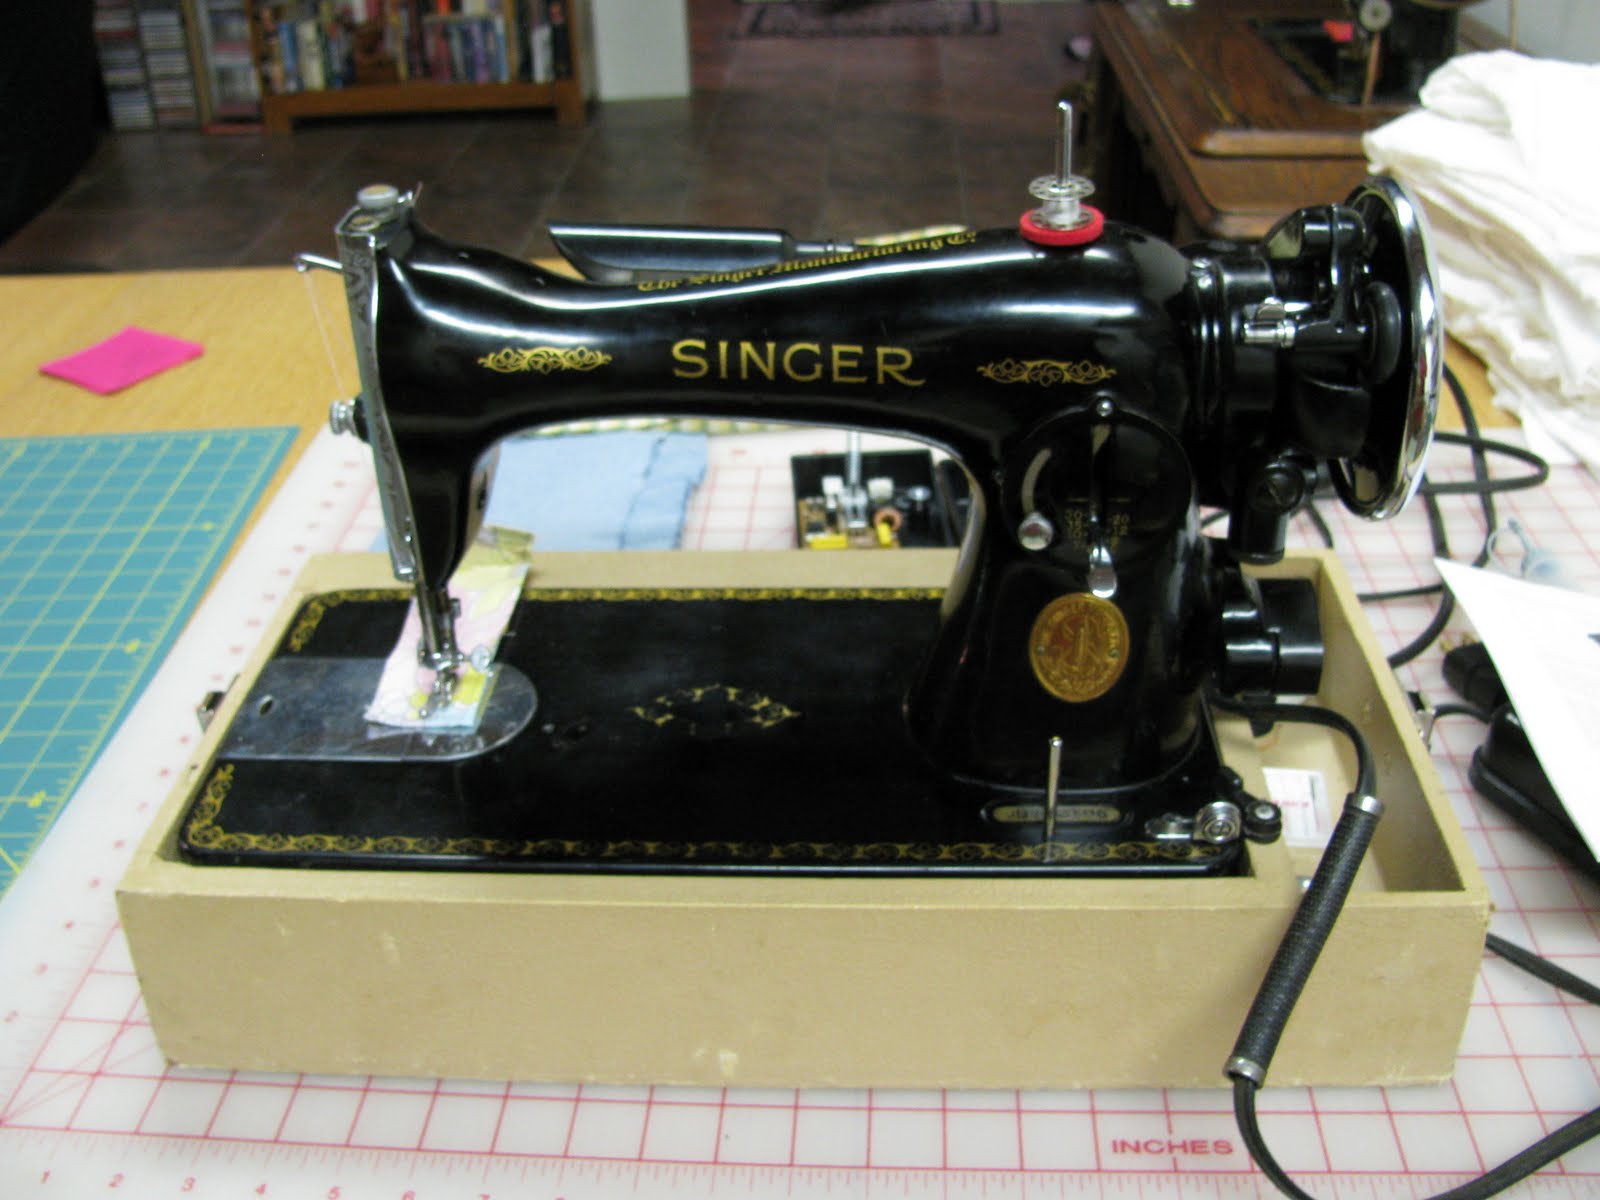
I pieced it with my Singer 15-91, then quilted most of it on my Bernina 930 Record and four blocks were quilted with my Singer 15-89 treadle.  Treadling while free motion quilting takes lots of practice.  I found I had a lot more control with the electric machine than with the treadle.

Happy Stitching all.

Thursday, April 12, 2012

FMQ Tutorial by Don Linn - stencil design

Thank you Don Linn for providing your expertise as April's teacher for Sew Cal Gal's 2012 Free Motion Quilting Challenge.

As I have been quilting for a long time, learning Don's stencil method had me feeling like an old dog learning a new trick.  Generally, I do not mark my quilt tops.  I very much prefer practicing the design on paper then drawing the design with thread directly on the quilt.  I've had limited success by tracing the design on to parchment paper then sewing through four layers of parchment paper with no thread in the machine to make a pattern.  The parchment paper design was then attached to the quilt top and quilted on.  This works well except I find removing the parchment paper bits messy and a pain you know where.

Here is my photo journal using tulle, permanent marker, Dritz purple fade away marker and an embroidery hoop. 
I don't own a wooden round embroidery hoop, so I used the large hoop from my Pfaff Creative 2 sewing machine.
I drew my own design in pencil then went over it with a purple permanent marker.
Good visibility, it was easy to trace the design onto the tulle.
I did set the black permanent marker with an iron before tracing it onto the fabric.
Purple fade away pen traced onto my sample quilt.
This was also easy to do.
I used variegated multi-coloured threads and started stitching in the centre.
Back view.
After I finished the block, I waited 24 hours and noticed that the fade away marker was not really fading away.
The package said the purple marker was water soluble.
Back view of finished block.
I wet the top side with water and applied a wet wash cloth to the fade away marker.  It took a fair amount of effort to remove the purple marker.
Next I tossed the quilt into the dryer to dry it.  Oh boo... it came out wrinkled!
In order to get a lot of contrast between the butterfly and flower, I restitched the butterfly lines.
As you can see, I need more practice retracing the same lines , the inside of the butterfly wings are a little sloppy.  Perhaps, I should rip it out and redo it.
My second attempt, using a plain unbleached cotton quilt sandwich.
The tulle method provides excellent visibility for tracing the design onto the fabric.
 
This time I used a soft pink Coats embroidery thread to stitch out the whole design.  The first photo is the back of the quilt.
Then orange, turquoise blue and dark brown thread on the butterfly.
 
It is easy to tell the front from the back because of the purple marker.  Again after waiting 24 hours the purple marker did not fade away.  I used water and a wet wash cloth to remove it.  Then dried the quilt sandwich in the dryer and ironed the wrinkles out.
 
I think the end result is quite pretty.  However, a lot more work than I'm willing to do on a regular basis.
 I'm still not completely sold on the concept of marking the quilt top.
 Below is a close-up the stitching on the backside.
Close-up of the stitches on the front side.
I enjoyed learning to make a tulle stencil.  I would love to hear from other quilters who use stencils and mark their quilt tops.  Is there a better marking tool than the fade away pen? 
Diane at Pine Point Designs used cardboard from a cereal box to make a permanent frame for her tulle stencil.   Her idea is brilliant and I definitely plan to try it out.

Happy quilting all.