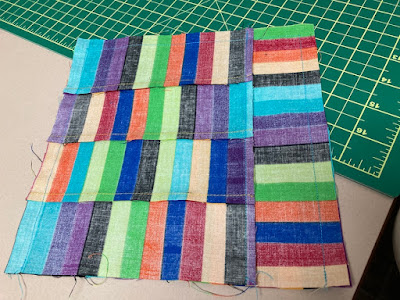
Clip bottom corners.
Bring the sides and bottom seams together to make a triangle shape, then mark the boxed seam 2" long 1" away from the centre seam.
Measure, mark and stitch the boxed corners for both bags. Turn one bag right side out. Do not cut the corners off, the extra bulk helps the bags stand upright as there is no interfacing or quilt batting to stabilize the bag.Using a 1/2" seam allowance stitch the bag all the way around except the turning spot. Reverse stitch at the beginning and end of the seam.
Turn your bag right sides out, I use a chopstick to poke out the boxed corners.
Finger press or use an iron before clipping the edges together for the final top edge stitching. I increased the stitch length from 2.0 to 3.0 and changed the thread colour to orange for this one.That's it, all done. When using orphan 9 patch or other quilting patches I use a 1/4" seam allowance so the quilt patches are the same size as in a quilt. It is easier to make these little bags with 1/2" seam allowance and the added bulk makes them more stable. At times I have used interfacing and quilt batting scraps but that is adding extra steps.Cotton scraps outside bottom and side view.
Denim outside
Cotton view outside sides and denim inside view.
These are fun to make and inexpensive. Happy stitching all.
This reversible fabric bag tutorial is available as a free pdf. If you have trouble downloading the file please email me.


No comments:
Post a Comment
Your comments give me quite a thrill. Thanks so much for visiting my blog and please have a super duper day! Unfortunately, anonymous comments are no longer allowed, there was just way too much spam.