My son's company has bow tie day the first Thursday of every month. Good reason to make Christmas bow ties. First, I used
Sew Like my Mom's tutorial.
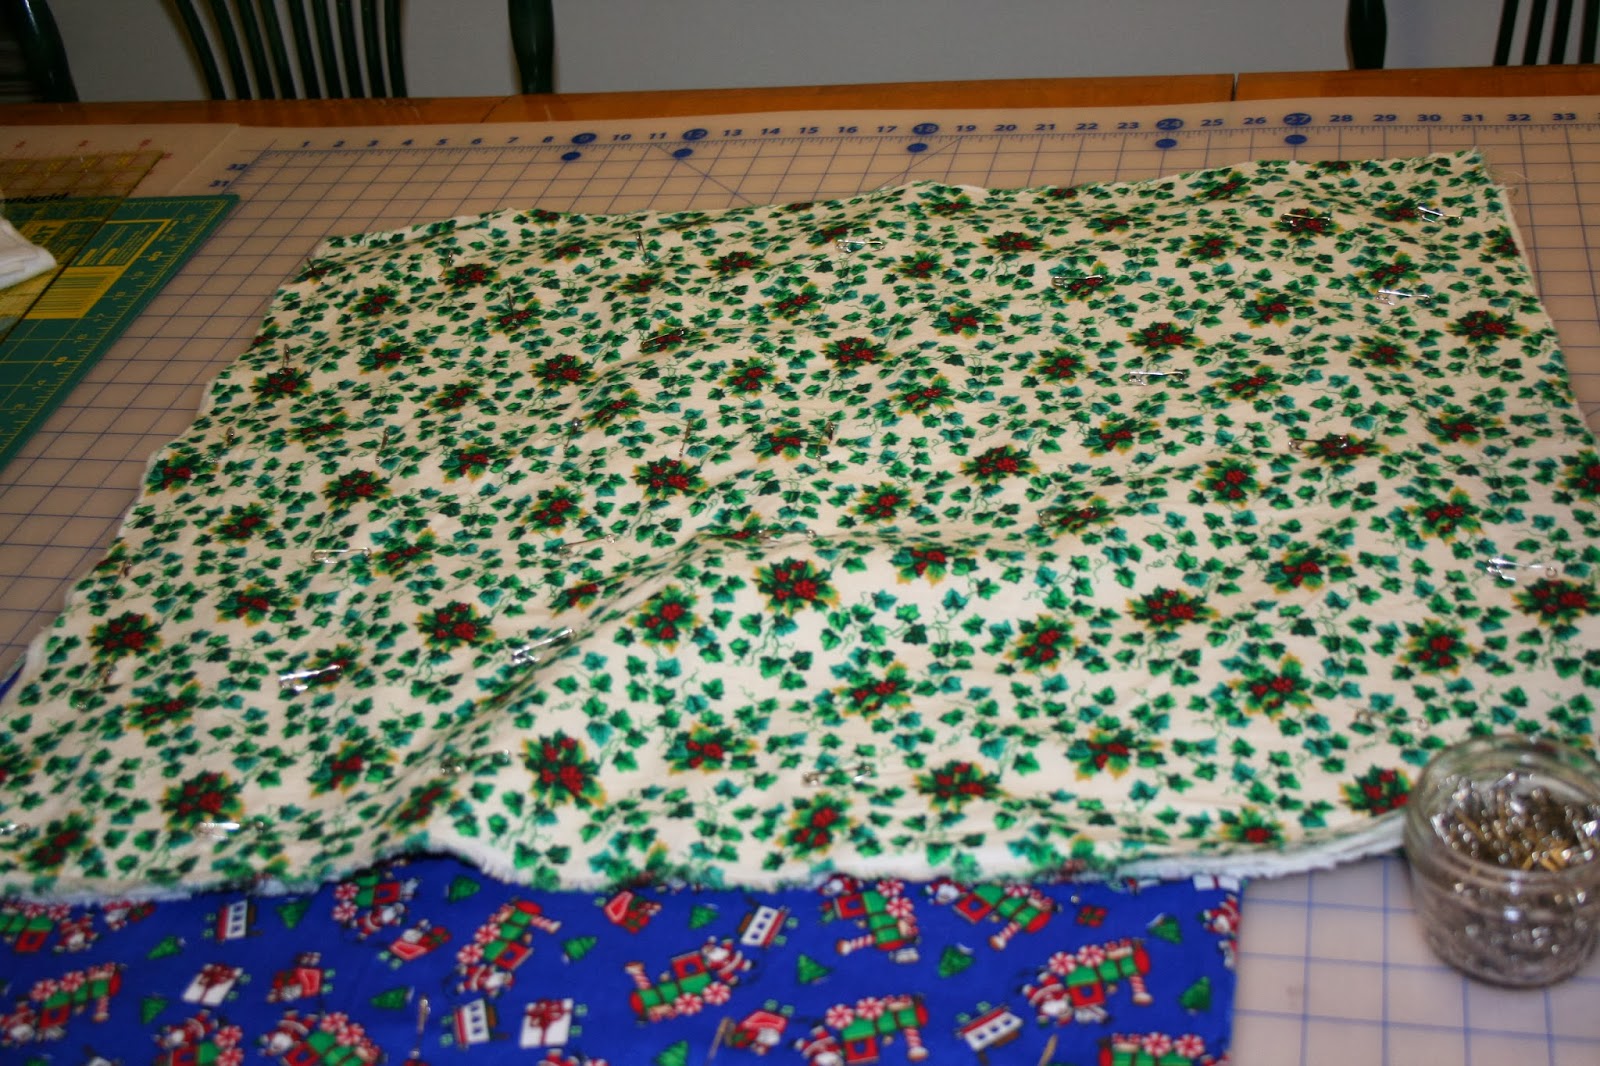
This fabric is left over from dinner napkins I made several years ago. I love it because it is blue with silver sparkles.
Cut four.
I cut four pieces of fusible interfacing as well. Next time I will only cut two, as one side is sufficient.
Weights instead of pins.
Applying the fusible interfacing.
Ten seconds with a hot iron.
Sew the skinny ends 1/4 inch seam allowance with right sides together.
Press seam allowance flat in alternate directions.
Stitch both pieces together with a 1/4 inch seam allowance.
Leave about a three inch opening for turning the bow tie right side out.
Clip the corners.
Cut slits around the curves, so it will lay flat after turning.
Now comes the really hard part, turning the right side out.
I used a chop stick, needle nose pliers and quite a bit of brute strength to force the fat ends of the bow tie through the narrow passage to the middle.
Half way through the turning.
It was stiff and tight, very difficult to pull through. Two layers of 100% cotton and two layers of fusible interfacing was just too thick to turn easily.
After I had the second end turned I realized that I had accidentally snipped
the stitching line around one of the curves, there was a hole with
the slit cut seam allowance and broken thread sticking out.
Pressed flat on both sides.
Rather then trying to turn it inside out to repair the stitching, I top stitched all the way around the outside to close the turning opening at the back as well as the stitch snipped hole on the front side.
After watching three different utube videos on how to tie a bow tie, I know how to do it.
Tying a bow tie is like everything else in life. The more times you practice the better you get.
This bow tie is machine washable and because it was top stitched all the way around may not require ironing after washing. This one was made for a size 15" inch neck.
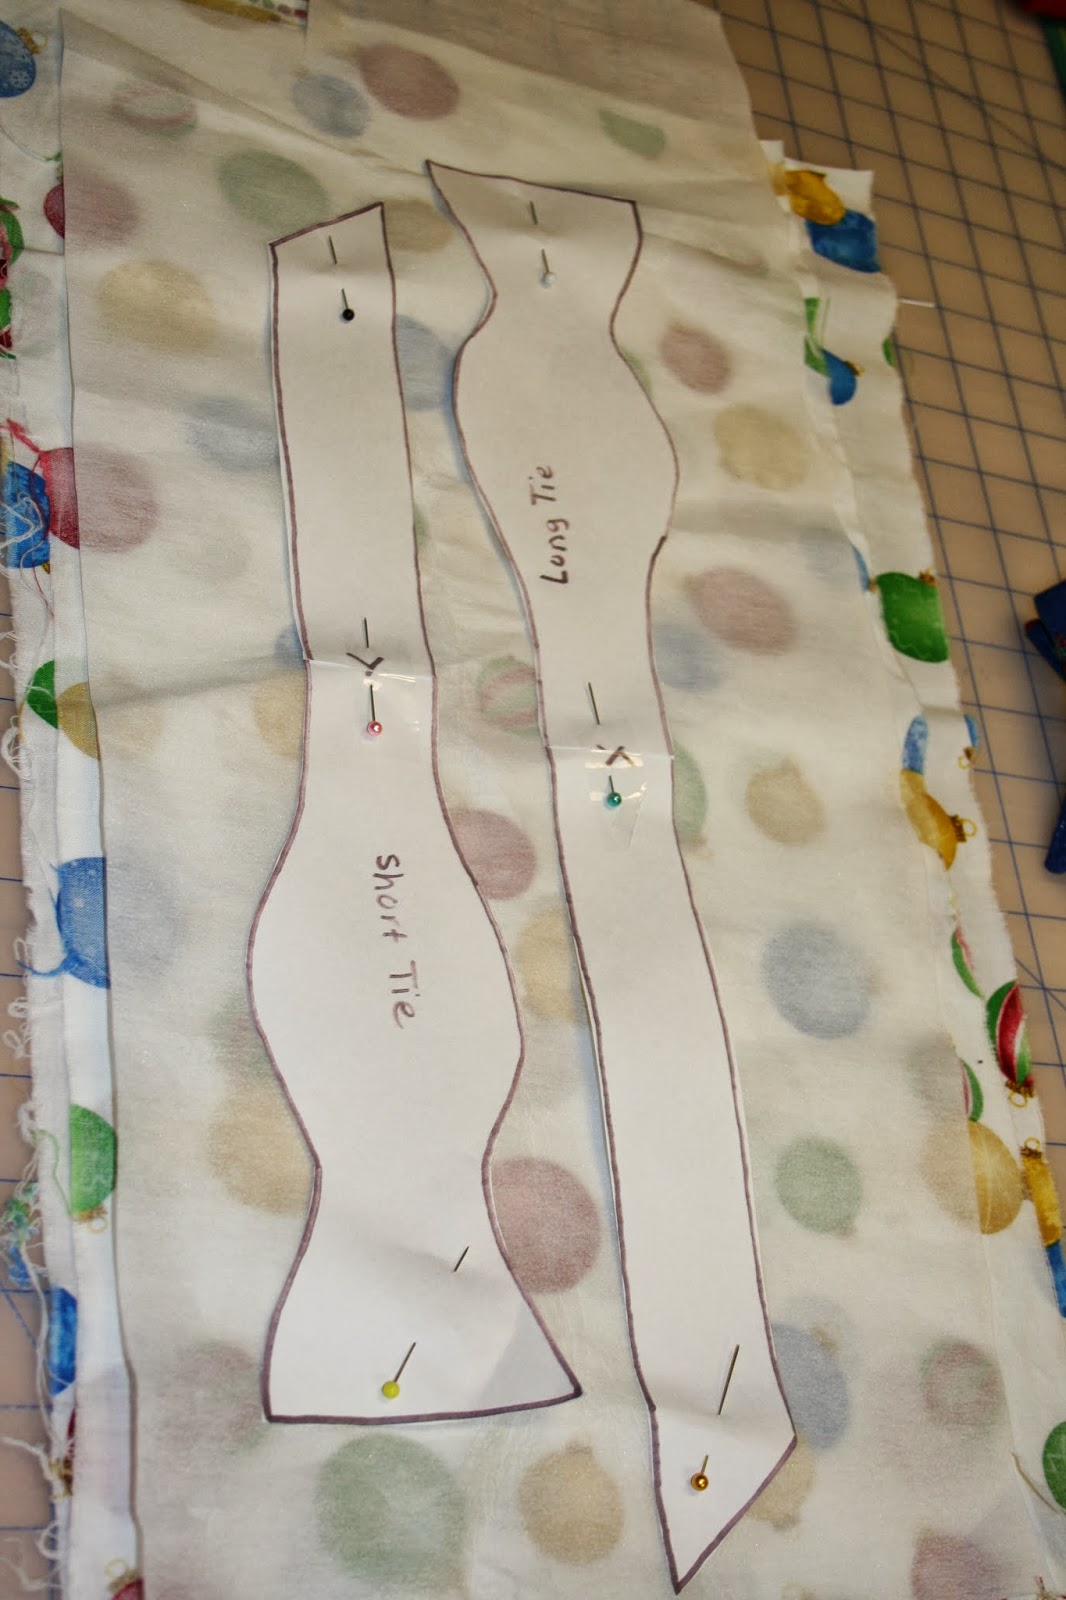
This tutorial had two pattern pieces with a long and short end.
Cut two of each piece from fabric and one of interfacing.
Clip the corners and trim the seam allowance rather than cutting slits in it.
Press the joining seam open.
With only one side of interfacing it was much easier to turn right side out.
This fantastic bow tie is sized for a boy not a man.
Oh well, maybe Jason knows some one who is small enough to wear it Now that I have all the bugs ironed out. I used the pattern from the Sew Like my Mom's tutorial and trimmed the seam allowances rather than cutting slits in the the curves. This eliminated accidentally cutting the stitching.
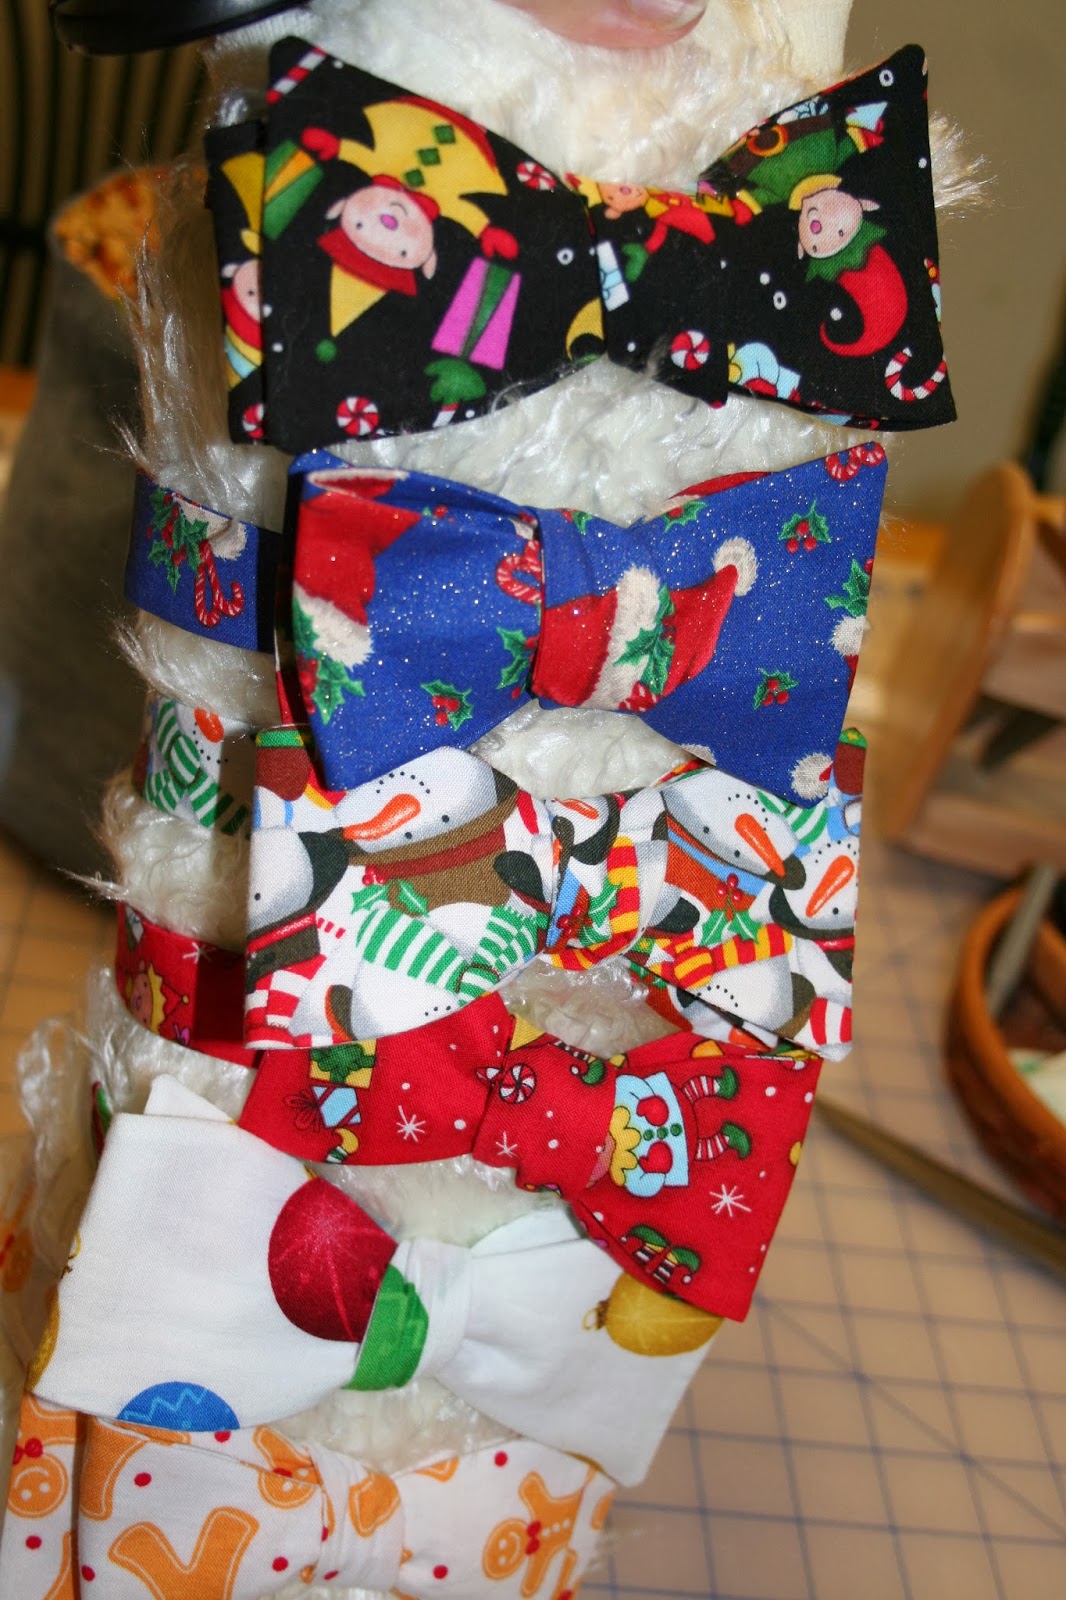
Making Christmas bow ties was fun.
These range in neck size from a 15 to 16.5 inches.
for providing excellent bow tie tutorials and patterns.