Drum roll..... ta...da!!
Closed measurements 6" by 4"
Outside zipper pouch lined with nylon
Under flap zipper pouch lined with quilted fabric
Designed for money, credit cards and identification on outside
and to fit Iphone 6 inside.
Optional crossbody strap
Required materials:
- two 20" by 7" panels of fabric for outside and zipper extension strips I used PUL
- one 13" by 7" quilted fabric or polar fleece
- one 16" by 7" nylon for lining outside pouch & optional handle tabs
- two 7" inch zippers
- snaps
- one 4" by 60" strip of nylon for optional cross body strap
- two key rings for optional strap
My
free pattern is available as pdf. A half inch seam allowance is included.
The zipper on the outside is half an inch lower than the zipper under the inside flap. This was done to reduce bulk on the seams. Pattern instructions: Start with outside of purse 7" by 3" + zipper + 7" by 2.5" + 7" by 3.5" top flap = 7" by 8" finished piece
Fold over half an inch on zipper extension fabric then stitch to open and closed end of zipper.
Instead of back stitching at beginning and end with needle in down position, raise presser foot turn fabric around to sew a second row of stitches on top of first one to re-enforce entire length of seam.
It is important to have the zipper pull below the extension fabric strip for sewing. Trim zipper and extension fabric. Cut the zipper ends as close as possible to the seam.
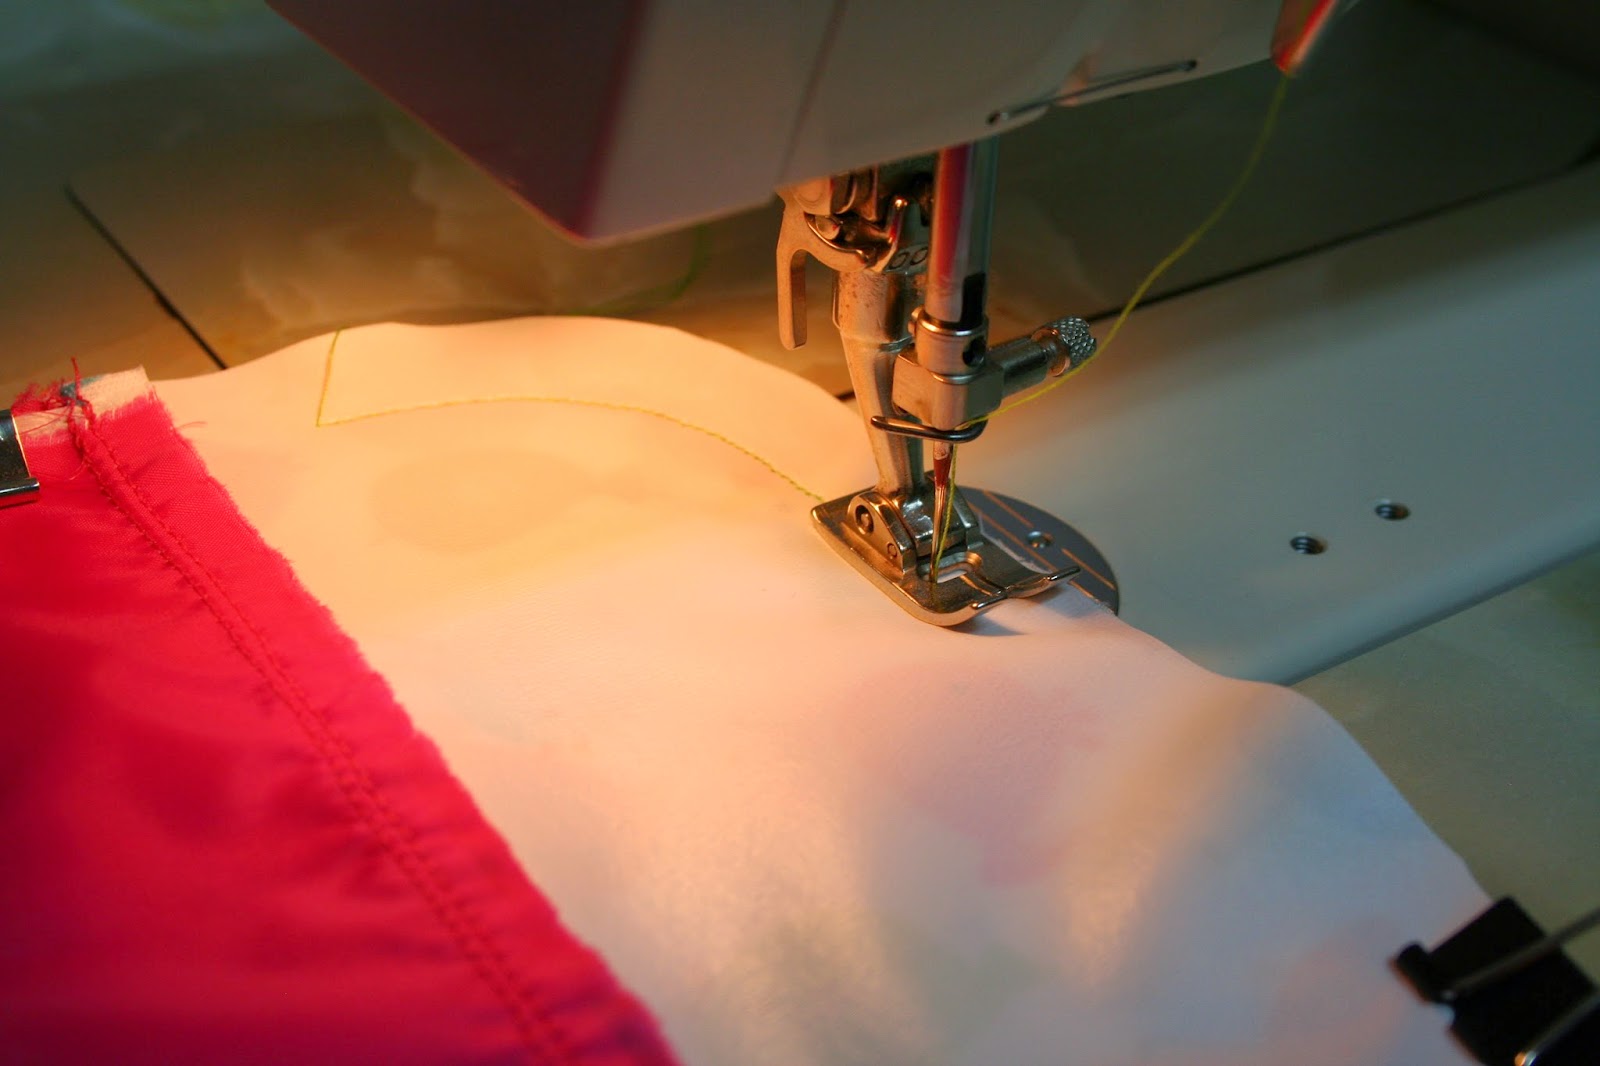
With right side of lining facing up position zipper on top of lining.
Place right side of fabric on top of zipper.
Stitch as close to the zipper teeth as possible. I did not pin these layers together because PUL fabric is waterproof, even though the finished project is tossed in a hot dryer to reseal the stitching holes, the less holes the better. If you are using denim, upholstery, polyester and cotton fabrics pin as much as required.
After stitching the first side
Fold the fabric right sides together
Top stitch the layers along the zipper teeth
Repeat assembly order for second side of zipper
Pull zipper pull down about two inches
Zip it up after stitching
Top stitch the second side
Front and back views of outside zipper.
Attach top flap
With right sides together
Top stitch to secure seam allowance towards top of flap.
Assemble inside of purse 7" by 3.5" + zipper + 7" by 2" + 7" by 3.5" top flap = 7" by 8" finished piece. Apply zipper extension fabric exactly the same way as on outside of bag. Since I used pink thread on outside of bag and orange on inside I did not do all four zipper extensions at the same time.
Quilted fabric is right side up, then zipper and outside fabric right down facing zipper.
Before top stitching, trim away quilted fabric as close to stitching as possible to reduce bulk.
For second side of zipper, lining right side up, zipper right side up and outside fabric (bright orange) right side down on top of zipper. Stitch, fold right sides together and edge stitch close to zipper teeth.
With right sides together attach top flap, then edge stitch the seam.
Optional strap tabs fold 3" by 2.5" in half right sides together. Press seam open. Turn tabs right side out, Press so seam is in middle of tab.
Open outside zipper
Right sides together, outside of bag on top
Inside in the middle and quilted fabric on the bottom
Fold strap tabs in half and position in centre of bag as shown.
Pin or clip all three layers then stitch 1/2" around entire edge of bag.
The outside zipper is the turning hole.
Before trimming the outside seam turn the bag through the outside zipper opening to ensure it is straight.
Back and front view
Trim away quilted fabric first as close to stitching as possible
Trim fabric close to stitching
Snip corners
Turn bag right side out
Edge stitch top flap
For cross body strap cut a 60" by 4" strip of nylon fabric.

With right sides together fold fabric in half and press. Stitch one short end closed and 1/4" seam allowance along long edge to make a tube. Turn right side out, I use a chopstick.
Fold the open ends inside and iron flat.
Fold strap in half again then edge stitch all sides.
Install key rings on strap tabs and snaps
On cross body strap and flap of bag.
The possibilities for this bag are endless. It is a wonderful project that would be a lovely gift.
Dear Readers, I hope you enjoyed this tutorial. If you make a cell phone case with this pattern, would you please post a comment and share a photo?


