


Cut four.


Weights instead of pins.

Applying the fusible interfacing.

Ten seconds with a hot iron.


Press seam allowance flat in alternate directions.

Stitch both pieces together with a 1/4 inch seam allowance.

Leave about a three inch opening for turning the bow tie right side out.

Clip the corners.

Cut slits around the curves, so it will lay flat after turning.

Now comes the really hard part, turning the right side out.

I used a chop stick, needle nose pliers and quite a bit of brute strength to force the fat ends of the bow tie through the narrow passage to the middle.


Half way through the turning.


Pressed flat on both sides.


Bow tie making day two, I tried Scattered Thoughts of a Crafty Mom's tutorial and pattern.


This tutorial had two pattern pieces with a long and short end.
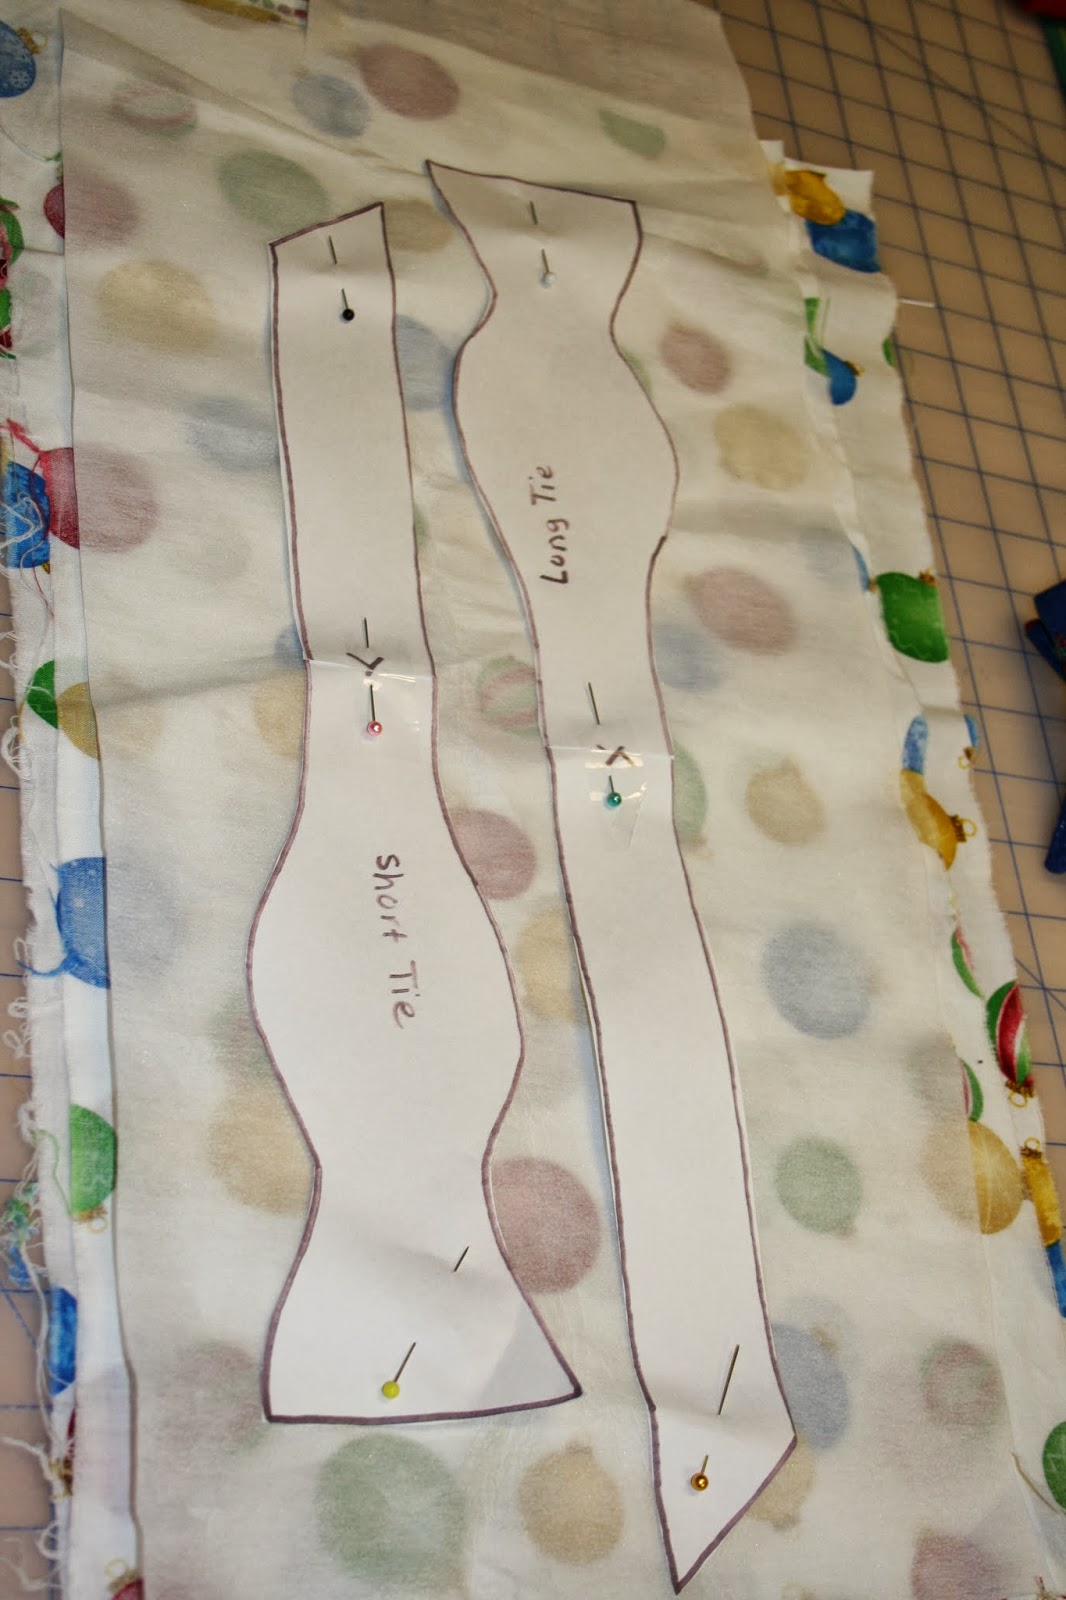
Cut two of each piece from fabric and one of interfacing.

Clip the corners and trim the seam allowance rather than cutting slits in it.


With only one side of interfacing it was much easier to turn right side out.


Oh well, maybe Jason knows some one who is small enough to wear it Now that I have all the bugs ironed out. I used the pattern from the Sew Like my Mom's tutorial and trimmed the seam allowances rather than cutting slits in the the curves. This eliminated accidentally cutting the stitching.


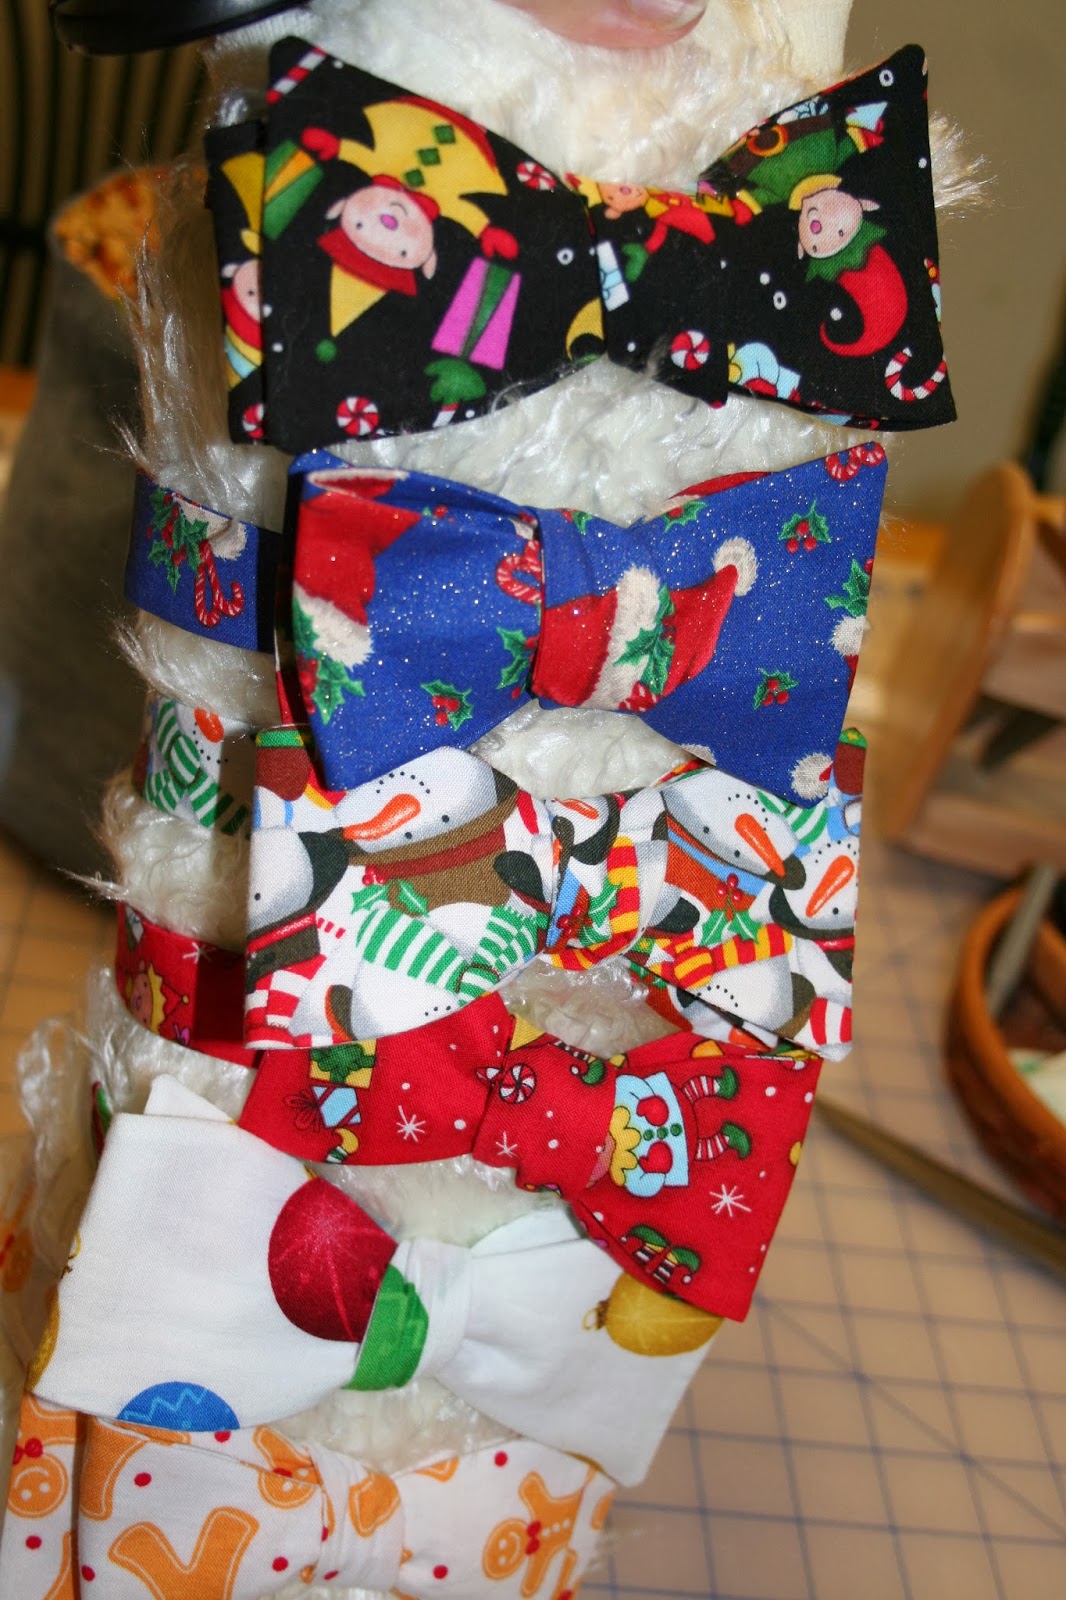


My sincere thanks to Sew Like my Mom and Scattered Thoughts of a Crafty Mom
for providing excellent bow tie tutorials and patterns.


Cool bowties! You've got December covered... what about the other 11 months? ;)
ReplyDeleteLove the bowties! So cute.
ReplyDeleteI’m writing from Sew Sisters Quilt Shop in Toronto.
We are running our second Blogathon Canada in November this year with a new line up of hosts and sponsors!
This is a weeklong blog hop of Canadian Quilting Blogs from across the country that I think you took part in last year!
You will find more details here: http://sewsisters.blogspot.ca/p/blogathon-canada-2013.html
Please take a look and let me know if you’d like your blog to be added to the list that the host blogger from Manitoba will have on her post.
Thanks
Carol
What wonderful bow ties...makes me want to make some even tho' I know no one in this house would wear them! LOL
ReplyDelete